C.A.M.P. Alpina Ice Axe specs:
- Rugged T-rated pick and shaft (CE-UIAA Type 2)
- Forged chromoly steel head
- Ergonomic head design for a comfortable grip
- Asymmetric steel spike plunges smoothly
- Equipped with the technical Alpina leash
- Carabiner holes at the head and spike for easy clipping
- Colors (the photo nerd in me LOVES this).
- Weight: 16.6 oz
Where to get it
The Bottom Line: A solidly built, well priced, lightweight ice axe for general mountaineering use.
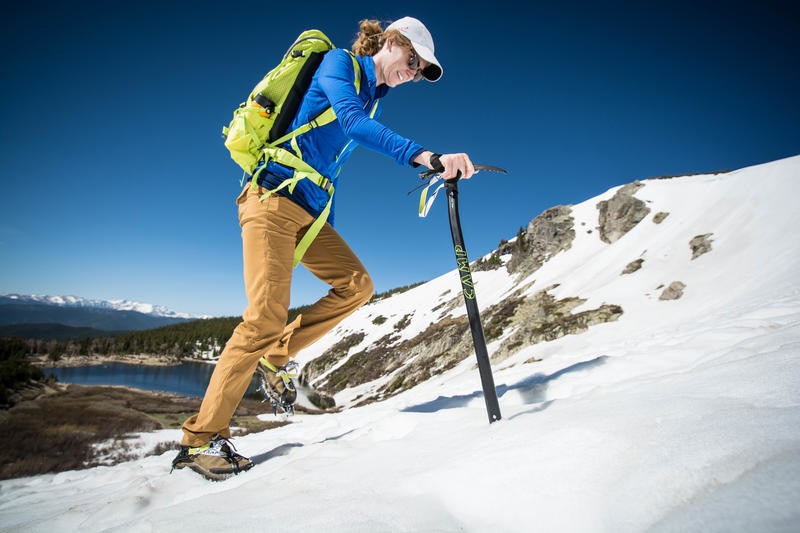
Climbing with the Alpina Ice Axe. Photo by Jason Leach.
Educational note: There are two different grips for holding an ice axe, and general consensus in the climbing world is that the pick side of the axe should be facing toward the body. This makes it easier to get into "self-arrest position" particularly by a climber surprised by a slip. In the photos, the axe is being held in what is known as "self-belay grip," which in the event of a fall would require the user to change the head around in order to self-arrest. Self-belay is its own technique (where you drive the shaft of the axe into the snow to stop from sliding at all), which we were doing because the snow was soft; while we practiced self-arrests, we did not slide to far or fast.
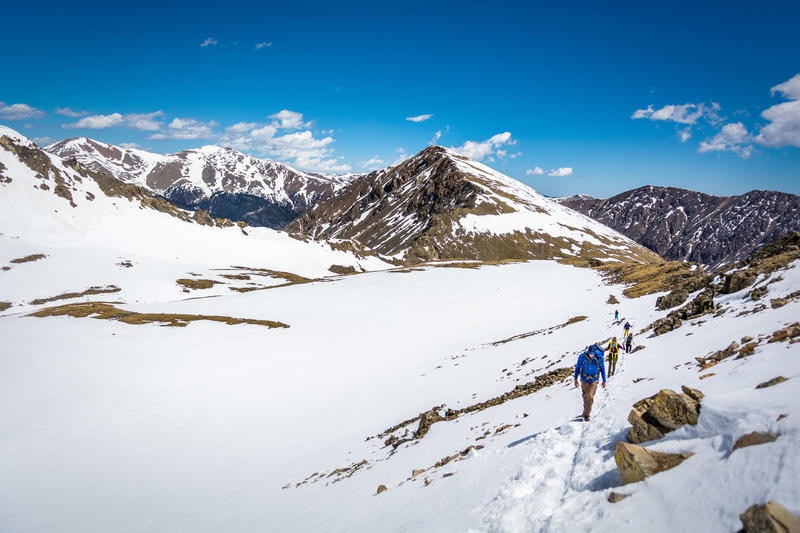
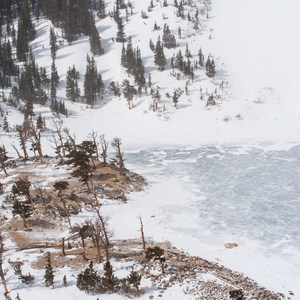
Back in May of 2017, a group of us made an attempt at Grays and Torreys peaks. About 2 miles in the route, hikers start ascending via switchbacks to the summit. The trail becomes narrow, and in the spring and summer it is easy to navigate. Since we were there in a shoulder season, however, it was covered entirely by snow and had a narrow ski track smoothly woven into it. The track had become hard packed and slippery due to the heating and cooling cycle that the valley can get. We had one ice axe and two sets of microspikes between the five of us, and while the weather was looking great, we opted to turn around about 500 feet up the slope (seen below in the photo). Most of our group was feeling uncomfortable, and that would not make for a good or safe continuation to the day.
Following the trip, my fiancée, Rachael, and I talked more and more about safety in the mountains. On that trip we saw plenty of folks in sneakers continuing on with even less protection than our group had. Our talks reminded me of a time when I was new to winter hiking and watched a buddy of mine slide down an icy slope on Mount Washington moments after he was describing to me what a microspike was and that we might want to at least split the pair he had so that we each had at least one secure foot.
Hiking is inherently dangerous with shoulder seasons, and winter adds even more complexities. Gear can also be cost prohibitive at times. But in this case, the C.A.M.P. Alpina Ice Axe ticks enough boxes at a solid price point that we have found few excuses not to carry them with us when we head out to the mountains in shoulder seasons. Ours act as $100 insurance policies that are way cheaper than a rescue.
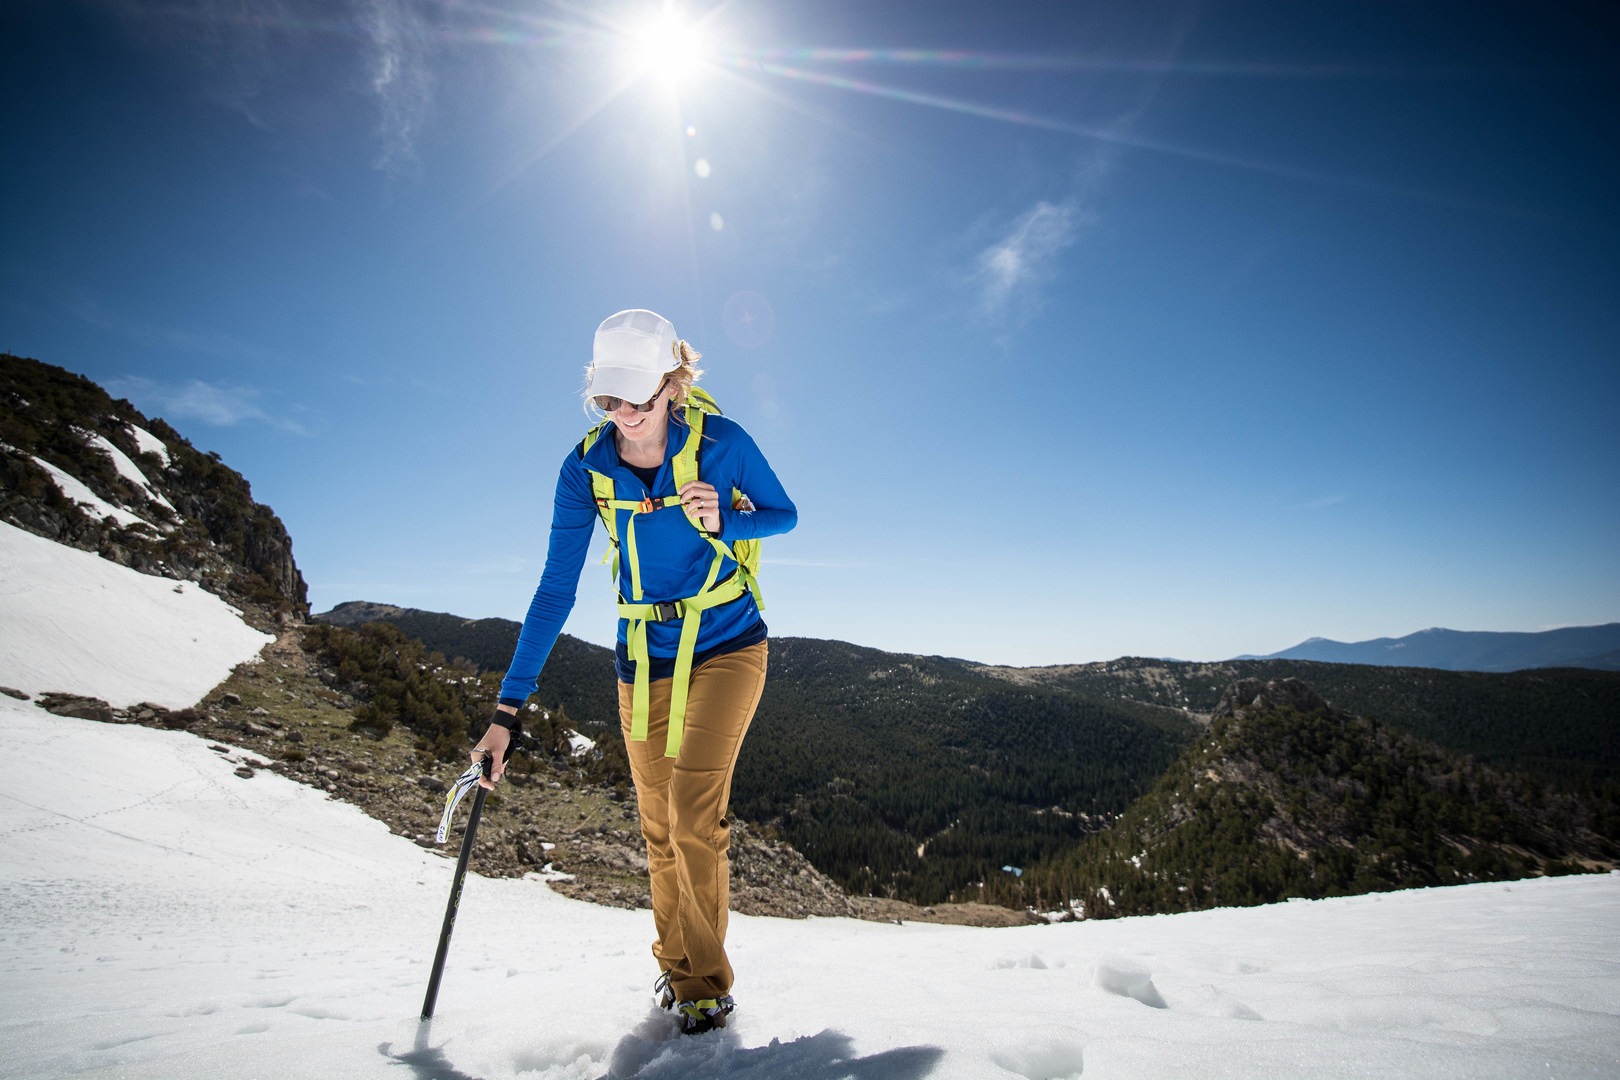
I share all that to say that another important piece of owning an ice axe is to practice with it. Following that day on Grays and Torreys, Rachael ordered a set of crampons (also C.A.M.P.) and her own Alpina and set out to start practicing with them on a more regular basis. Luckily for those of us that live in the Colorado Front Range area, we have access to a great place called St. Mary's Glacier.
The first thing to mention is the weight of the Alpina. Weighing in at slightly over 1 pound (16.6 ounces), the Alpina lands in the middle to upper end of the weight range (the Petzel Glacier Literide weighs in at 11.2 ounces for comparison), but I am happy to sacrifice a few ounces for something that feels solid in my hands and is will protect my life. Lightweight is great, but this thing feels like it can take a beating and keep stopping my slides.
The shaft is made of T-rated aluminum, and the head is made of T-rated chromoly steel. A T-rating (Type 2) boils down to being a stronger and more durable tool according to UIAA and EN. At the bottom of the shaft is a nice piece of grip tape; this is very helpful since the shaft itself is smooth aluminum that can slide a bit when it gets wet. There is a slight curve to the shaft that makes chopping a bit easier, and the Alpina comes equipped with a hand leash (something other ice axe manufacturers make you purchase separately). In writing this review I learned that the inclusion of this is part of the UIAA Type 2 standards that are more rigorous than the EN standards alone. Did I mention how bomber this thing is?
The chromoly head includes a narrow adze (shovel) at the back. According to C.A.M.P. this has been optimized for cutting performance to make life easier. I have done some cutting with this in practice, and while it certainly is no snow shovel, it works. Cutting with an ice axe is a workout, so I recommend practicing this while you can and perhaps hitting the gym with some medicine ball slams and cross-body movements to strengthen those muscles.
The head is covered with a plastic cap, which helps to make carrying the axe more comfortable. As noted, there are two ways you can carry an ice axe, but both ways involve keeping your palm on the head of the axe, so having a plastic piece there adds a degree of comfort and warmth since you are not resting entirely on the narrow metal head.
In practicing self-arrests, the axe behaves as expected, and the same goes for self-belays. In this category, if you get a well-fitted axe, they all should perform the same. The real variable here is the user and how much he or she has practiced self-belaying and self-arresting movements with their axe.
Lastly, the most minor note is the color scheme. This should be the last reason to buy a particular ice axe, but ticking the weight, price, and performances boxes already, it was a nice bonus to have a good looking ice axe. The neon green on top of the black with a white leash holds a nice pop in photos and on the mountains. Vanity is a thing, it's okay to embrace it sometimes, particularly in this case when it means you are being safe.
For a reasonable price you get a well built, ready-to-go ice axe that you can take from the store and to the mountain in the same day (assuming you have practiced or are going to practice).



Comments
However there is still plenty of errors within the educational note that reinforce the need to seek out certified instruction in how to use these finicky tools.
1) The "grip" for self belaying is ALWAYS with the pick facing opposite the direction of travel while on low angle terrain (up to 30-35 degrees). Self belay is your first line of defense while traversing laterally to prevent a fall, if it fails you have to be in position to self arrest immediately before you pick up speed. Some schools now don't even teach self belay as there is a belief that is the snow if soft enough to plunge, then a fall is nearly impossible. Personally I don't agree, I rather like the security of a self belay. All the same... one must be always in the self arrest position when crossing a slop side to side. It's possible the author may be referring to older editions of the freedom of the hills which did display adze forward. A lot has changed in 20 years though.
Here is a IFMGA guide demonstrating Self Belay, note the position of the pick and adze.
https://www.youtube.com/watch?v=U8a8qhXoi0s
2) There is no such thing as "self belay grip". The techniques for holding a axe are "A piolet" or " Dagger". In dagger position you are facing directly into the mountain on terrain where it is too steep to switchback. In doing so you open yourself to much more risk. A self belay will be very challenging. Some people choose to do a running belay, while others prefer to untie, and move independently feeling that the risk of slip while easily able to hold three points of contact is very low.
The axe is being held at dagger in two photos, the rest show holding the shaft beneath the head. Holding the shaft beneath he head is extremely ineffective, and will make it nearly impossible to self belay or self arrest. The terrain is barely steep enough to require an axe, so this maybe is the best place to practice this technique, and focus instead on "a piolet". With that said the lack of helmets, and the
I bring this up because each year I spend at least three hours teaching beginners not to hold axes this way, and where these techniques are appropriate and where they are not. We often get them to experiment with the different techniques to demonstrate their weakness. There is no shame, and certainly nothing wrong in not knowing how. It's a lot of very complex information.
Ice axes should never, ever be used without a helmet. Any terrain that is steep enough to require a helmet likely has some overhead hazard, or significant enough risk of falling to merit head protection.
There is also a rare, but serious injury from ice axes as their habit to skip into your face, forehead, or skull when hitting ice, or rock at speed can be fatal. Fun fact, this is what the tiny central skull fracture on George Mallory's skull suggest killed him (Source: Wade Davis' Into the Silence).
Helmets for snow travel is a more recent standard, and is still gaining traction, but it is what the International Federation of Mountain Guides Associations and the UIAA now recommends for Mountaineering Courses around the world.
A side note, less critically dangerous, but the model in this review is holding the ice axe the wrong way around. This would be fine on round steeper than 40 degress, but it actually is increasing risks in the terrain shown. Testing by the UIAA and IFMGA has shown that it is significantly less likely to self arrest with your hand in dagger position compared to "a piolet". While it's commendable that the author sought out practice once they purchased the tool, this is not displaying proper technique. Practice should come after training from certified professionals to ensure expertise and safety. I would highly recommend seeking out guided instruction from an AMGA professional.
Check out this site for a bit more info:
Here are some videos of IFMGA Guide demonstrating proper technique:
http://tv.thebmc.co.uk/videos/winter-skills-kicking-steps-and-an-introduction-to-self-arrest/
http://tv.thebmc.co.uk/videos/winter-skills-how-to-ice-axe-arrest/
http://tv.thebmc.co.uk/videos/winter-skills-how-to-choose-an-ice-axe/
Written Article: https://www.ukclimbing.com/articles/skills/essential_winter_skills_walking_with_an_ice_axe-7018
Source: Have taught as a volunteer for BCMC Intro Mountaineering Courses and worked (admin) for a IFMGA guiding company. I have done multiple courses with IFMGA certified BMG and ACMG guides.
Sign In and share them.