Mount Elden is a prominent volcanic dome rising to a height of 9,301 feet. Situated directly adjacent to the city of Flagstaff, this mountain has several very popular trails leading to spectacular views of the cinder hills to the east, Anderson Mesa to the south and the San Francisco Peaks to the north. While the summit of Elden can be reached by car, mountain bike, or on foot, the most adventurous way to the top (and least crowded) is the steep scramble up Mount Elden’s southeast face.
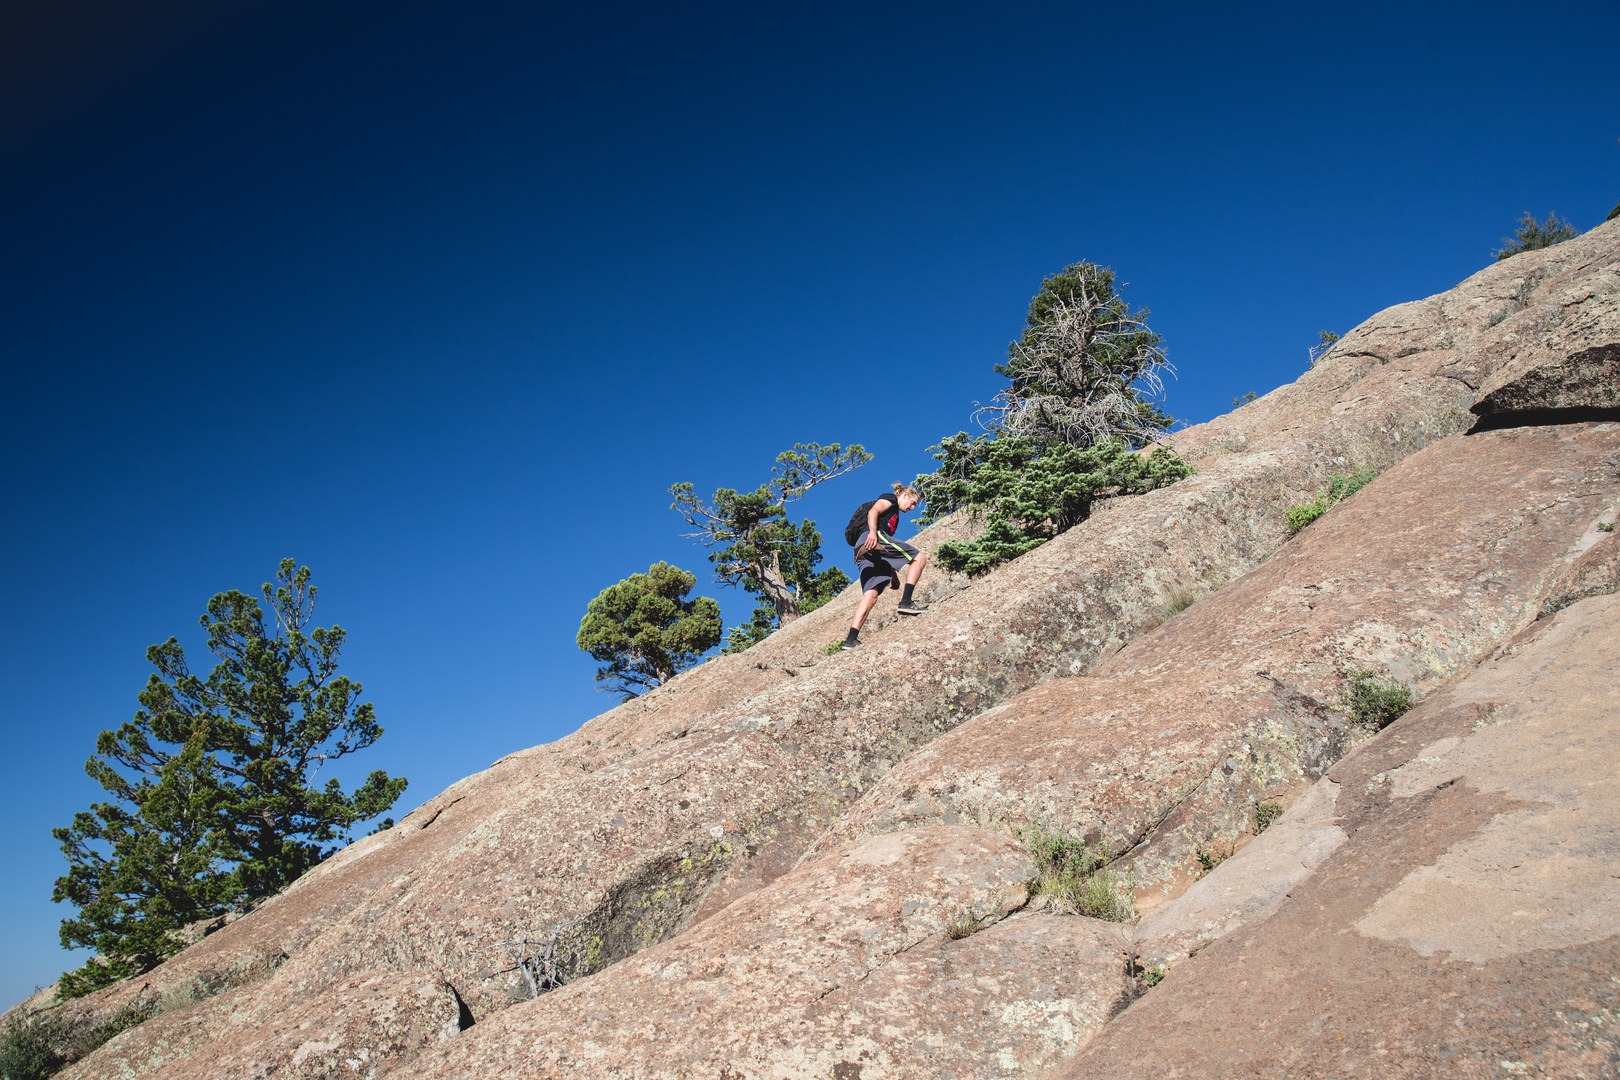
Mount Elden has two sets of slabs, one on the south and another on the southeastern flank of the mountain. The route described here travels up the southeast face. These are the slabs that dominate the skyline near the Flagstaff Mall. Semi-contiguous interlocking slabs of rock angled at between 25 and 50 degrees make for a fun non-technical climbing adventure. Most of the climb is considered Class 3, though some sections (at the very bottom and very top of the slabs) could be called Class 4.
The slabs are best done as a loop. Start from the Elden Lookout Trailhead parking lot near the ranger station and set out on the Elden Lookout Trail. At the junction with the Pipeline Trail, head left onto the Pipeline Trail and continue until you reach the base of the slabs. The first part, getting onto the slabs, can be tricky and involves a bit of Class 3 or Class 4 climbing. There are several ways to get up to the slabs proper, but you will know you are in the right area if you pass a small cavern with the words "hells hole" spray painted above the entrance. It is best to stay to the right of "hells hole." Continue up through some scrubby oaks for 100 feet or so until the slabs become more regular and continuous. Hike, scramble, or bear crawl for the next mile, trending slightly left. Watch for the trees that appear as natural bonsai clinging tenaciously to the small pockets of soil between the slabs. If you get into thick vegetation you are probably too far to the right or left. The slabs terminate in a steep prow or fin of broken rock. It is easier to skirt to the left of this fin until you reach the old burned area. The fire tower and a number of radio towers should now be visible and serve as a guide as to where you should be headed. After the slabs you will reach the area burned by the 1977 Radio fire. Wind- and fire-burnished logs act as minor obstacles. Avoid the myriad fallen powerlines and power poles torn apart by the strong winds that are common on Elden. Once you reach the firetower, take the Elden Lookout Trail back down to the parking lot (2.5 miles).
The slabs are steep but have good friction. Sturdy running shoes and boots are sufficient, but approach shoes are the best. The slabs can be very windy and exposed, so dress appropriately. Expect very high winds at the summit of Elden. Ascending the slabs is rather arduous, and while not technical, it can be scary for those uncomfortable with heights due to the exposure. Descending the slabs route, or traversing horizontally, is not recommended; it is very easy to get cliffed out. Also, dogs are generally not a good idea on this route.


Comments
Sign In and share them.