You are here
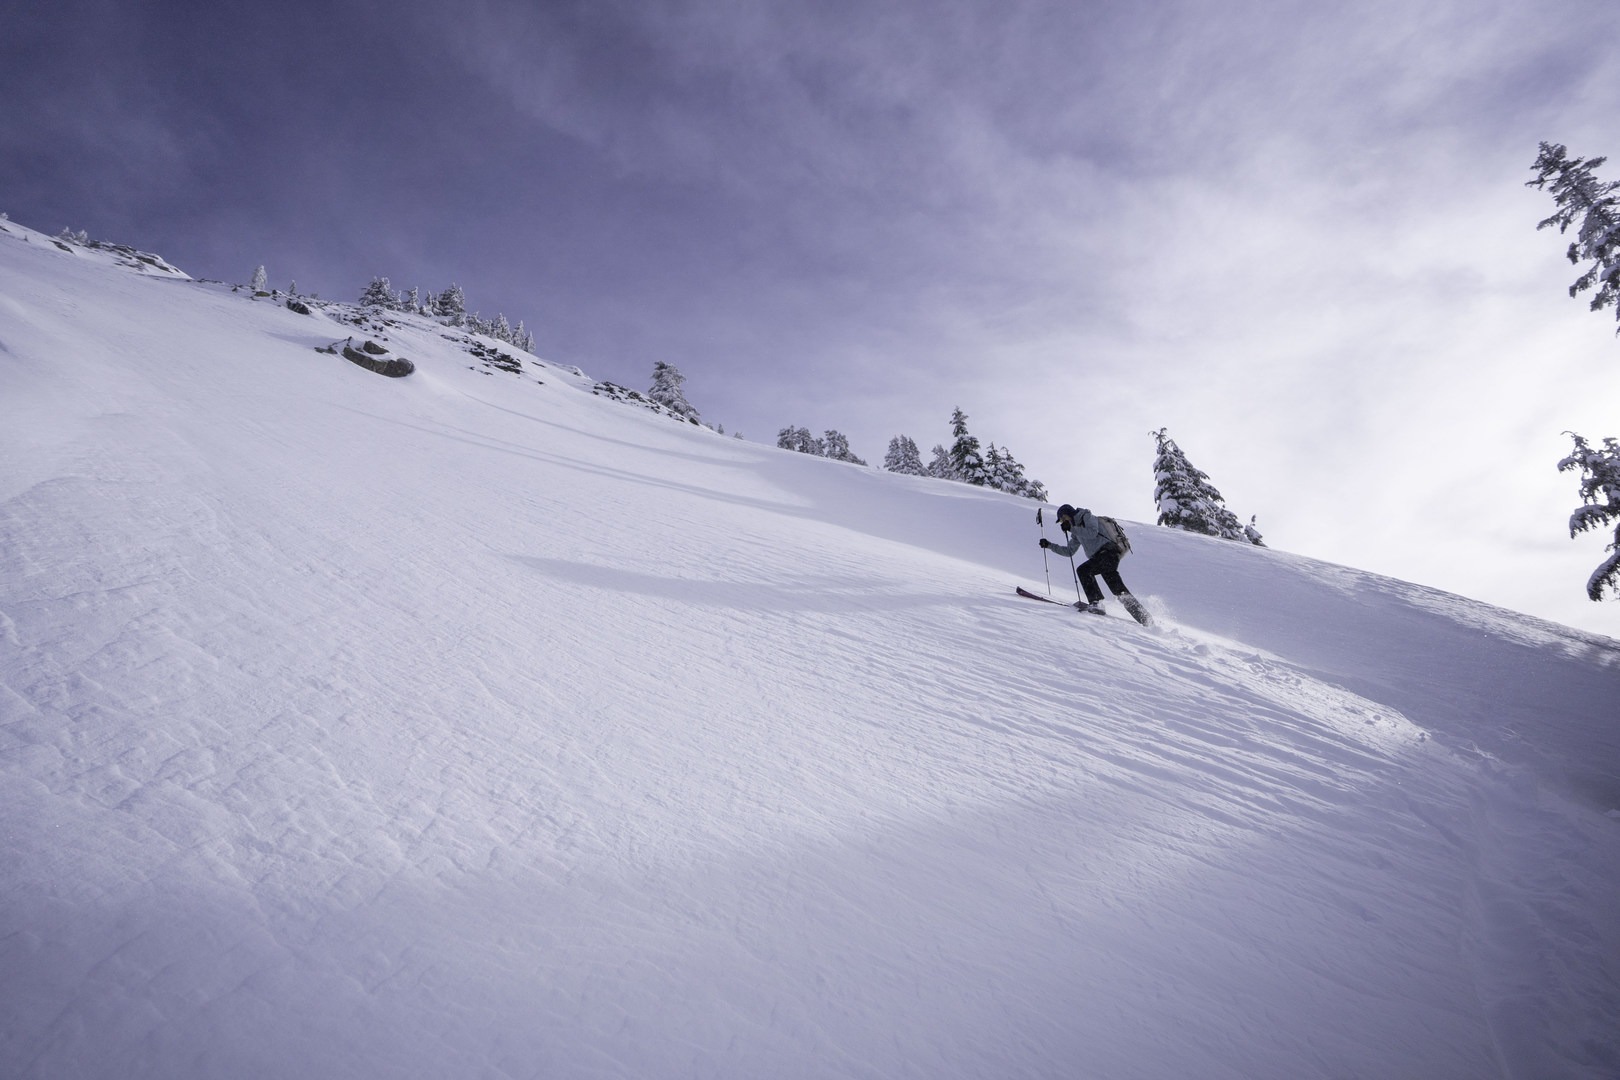
Even though Red Mountain isn't the tallest peak in the Snoqualmie Pass area, it's West Face, with 1,300' of fall-line skiing, juts up like an invitation to skiers who are ready for steeper lines. And the views from the top are incredible.
The Basics
-
Seasonality/Snow: Depending on the snowpack, the West Face can generally be skied from the car between December through April.
-
Snow Stability: There have been several deaths on Red Mountain, as the entire slope is avalanche terrain, so you'll need a stable snowpack. Don’t consider this tour without a safe forecast from NWAC (our local avalanche center), and make sure you take the time to assess stability along your route.
Equipment
Depending on when you’re going and what the snow is like, you’ll need some equipment to keep having fun. There are the obvious things, including your backcountry ski/splitboarding setup, personal safety gear (helmets, goggles, medkit, etc.), and appropriate layers to keep yourself warm and dry. And then there's the technical gear and the overnight gear:
-
Avalanche safety gear: beacon, shovel, probe, and the know-how to use it!
-
Traction: Extra traction often helps on steeper lines like this, and you'll likely need additional traction (beyond skins and boots), depending on what lines you’re thinking about doing.
-
Ski crampons: it will likely be icy out there in the spring, and ski crampons will make things a lot easier.
-
Boot crampons: if you think the snowpack might be icier, it's worth bringing these for the upper mountain, which can get a bit wind-stripped and icy.
-
Lightweight ice axe and/or BD Whippet: neither is a bad idea for the upper mountain.
-
-
Radios: Radios are becoming more and more common in the backcountry skiing world, as they dramatically improve communication and safety, especially on more complex tours like this one, where you may have multiple parties above or below you. NWAC started a new program in 2021 for the Snoqualmie Pass zone to allow intra-party communication by designating three different radio channels for the three main zones of the Pass. This route fits into the Kendall zone, which uses the 3-7 radio channel. If you’re tuned in, you’ll have a chance to know whether skiers are skiing above you, or if other skiers are finding a lot of instability. There’s more information at this NWAC link.
-
GPS/Navigation: A GPS and a pre-loaded track for this tour will help you get to the lines you want, and to navigate the complexity of Commonwealth Basin.
A disclaimer on this description and included GPX track - this line was skied on a single trip with certain snow and avalanche conditions. The track described is a reasonable way to move through this terrain, and the description below mentions some of the hazards found during the trip. However, conditions may be significantly different when you visit this area. The advice in this trip report is not meant to be followed perfectly - you will need to adapt the route for the conditions you find and for your party’s abilities.
The Trip
Park at Snoqualmie Central, cross the road, and walk under I-90 before following the skin track up toward the summer PCT trailhead. From here, head up the Commonwealth Basin skintrack, which is usually well-established (though it can have several branches, some of which are easier on the up or the down). Head up to the log bridge over Commonwealth Creek (around 1.3 mi in). From here, cross Commonwealth Creek on either the log or a snowbridge, and follow a slow ridge north. This section has a lot of tight trees and can be easy to get disoriented in, so we recommend a GPS. Cross a few small creeks and reach the base of the prominent ridge with a trail that leads up to Red Pass. This skinning can be tricky and steep.
After gaining the upper basin west of Red Mountain, climb the West Face, doing stability tests along the way to make sure you're happy with what you're finding. The upper mountain can get pretty wind-stripped/wind-loaded, so pay attention to micro-terrain, before topping out and enjoying huge views of the entire Snoqualmie Pass region!
Once you've enjoyed the views, turn around and enjoy fall-line skiing for 1,300' before reaching the upper basin again. From here, you've got a choice. Either descend the line you climbed, or cut hard SE across the avalanche chutes of Red Mountain's south slopes. Throw in a few more laps in this adventurous area if you've got the legs, otherwise cross the deep gully and begin descending, keeping as much elevation as possible. If you play your cards right, you'll find a skin track requiring almost no climbing all the way back to the car!
Participate in your backcountry community!
Please consider submitting an observation to NWAC after your trip, describing the travel conditions and snow stability you found! Submitting NWAC observations and writing trip reports on forums are great ways to contribute to the community and improve avalanche forecasts. It's also incredibly valuable to read the NWAC observations and trip reports written by others, as they'll help keep you updated on what the mountains are doing on a day-to-day basis. This will help determine whether you have a fun time next time you get out!


Comments
Sign In and share them.