You are here
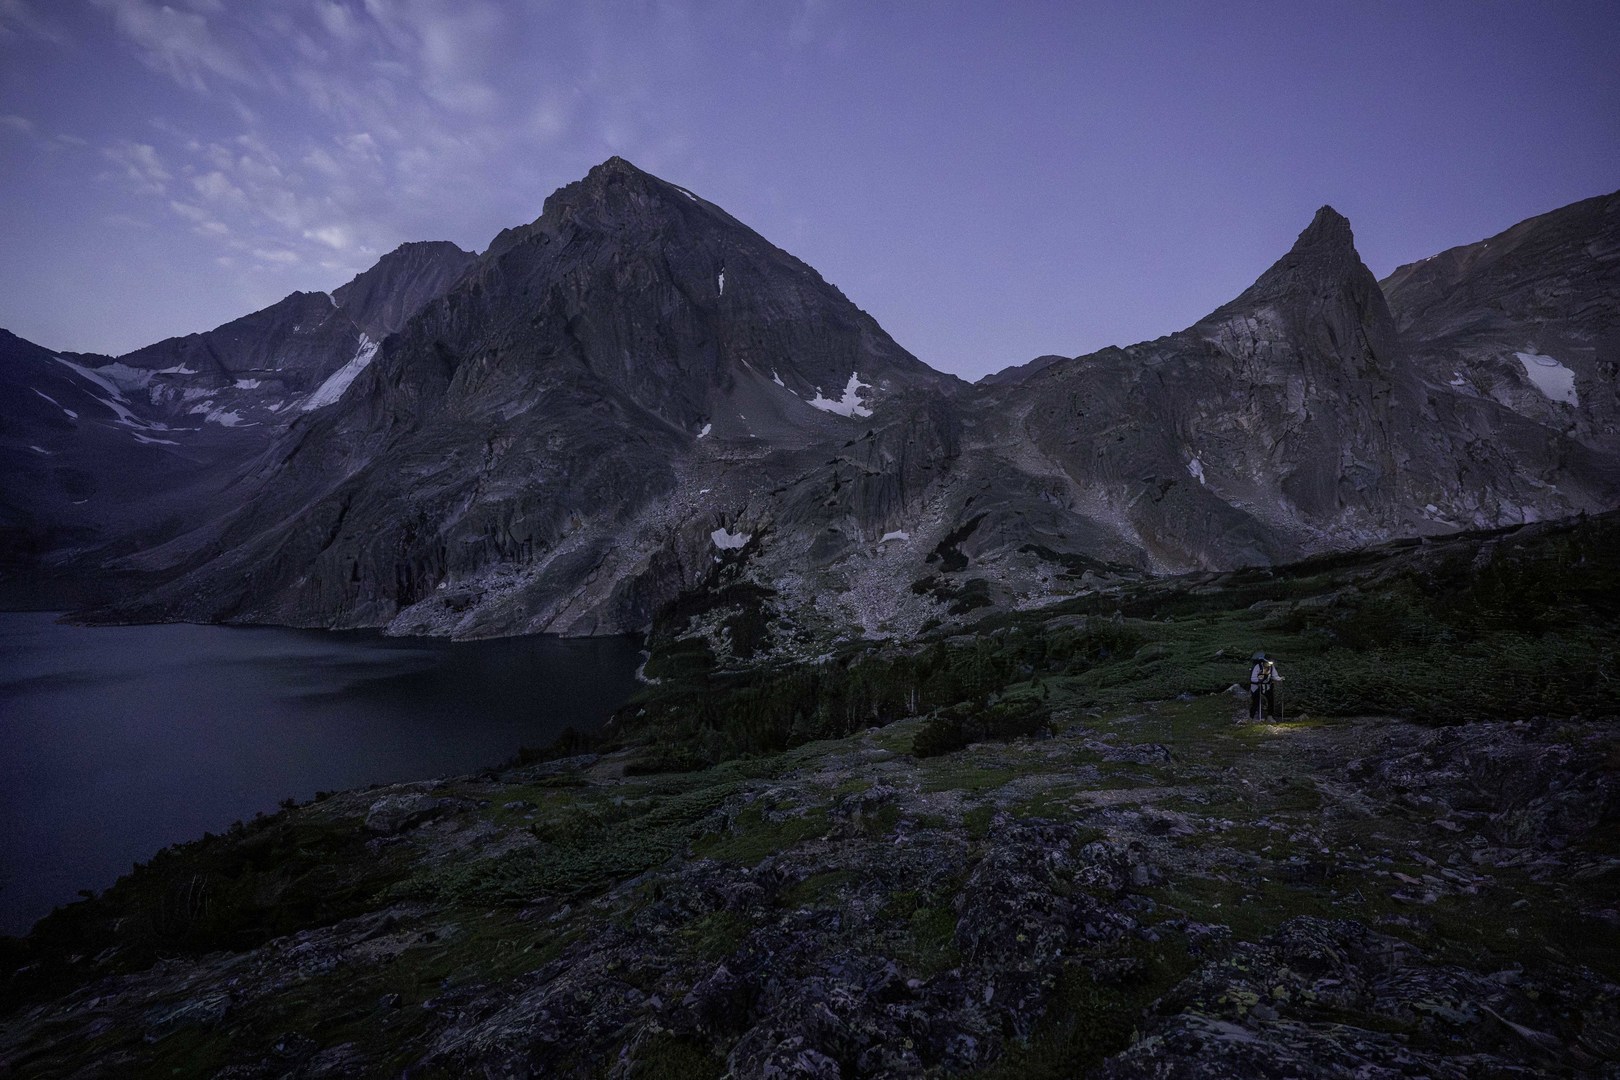
Granite Peak is the tallest peak in Montana, and one of the most remote/difficult state high points in the United States, rivaled only by Denali, Gannett, and Rainier. To climb Granite requires a wide variety of skills and alpine abilities, including efficient movement through third class, fourth, and low fifth terrain, as well as extensive off-trail travel. It's a burly adventure but well-worth the work.
Leave No Trace
If you choose to climb this route, please do your utmost to respect Leave No Trace principles, including carrying out everything that you bring in, from food and food wrappers, and disposing of your feces properly. The Beartooths are an incredible place, and if we can all practice LNT principles, we'll be able to continue to visit this area for years to come.
The Basics
-
Seasonality: Most people will climb Granite in July through September, once most of the snow has melted off the upper mountain but before the days get too short and cold.
-
Rock Climbing: This route requires comfort climbing and descending low-fifth class terrain. Be intentional about whether to bring a rope.
-
Note on rock ratings: Rock climbing difficulty ratings are highly subjective. You'll see the rock on this route described with different numbers. We believe it is low fifth class, which means that a fall will be deadly. Most people will choose to bring a rope when climbing low-fifth class. The more alpine climbing you do in a certain area, the better calibrated you'll become about local ratings.
-
-
Number of Days: This can take anywhere from one to three days (or even longer). Most will do it in two to three days. A one day push is an impressive feat.
-
Route: There are two main ways folks climb Granite Peak, though a third is slowly becoming more popular. There are benefits and drawbacks to all three.
-
Froze To Death Plateau Approach: From the West Rosebud Trailhead, climb up to the Froze To Death Plateau, cross it, and then climb Granite via the East Ridge.
-
Pros: Shorter, get to camp high (12,000') and set yourself up well for your summit day, avoid extensive talus travel.
-
Cons: Extremely exposed to thunderstorms on the plateau and there's no real way to shelter when they hit.
-
-
Avalanche Lake Approach: From West Rosebud Trailhead, continue west along Mystic Lake, follow use-trails to Avalanche Lake area, then climb up talus to the base of the East Ridge.
-
Pros: Camping is protected from lightning and storms.
-
Cons: ~4 mi longer, no good campsites above 9,700', so your summit day is a lot longer than via FTD, extensive talus travel can cause slower travel.
-
-
SW Ramp via Aero Lakes: From Aero Lakes/ Lady of the Lake Trailhead, head north to Granite
-
Pros: This route avoids the fifth class terrain (though this route is still difficult)
-
Cons: Longer, lots of loose rock.
-
-
Equipment
-
All the alpine climbing gear you think you'll need (this will vary widely depending on your intended style).
-
Backpacking Gear.
-
Approach Shoes/Rock Shoes - your call on whether you wear rock shoes on the climbing.
-
Traction: Depending on the time of year, consider additional traction, like boot crampons or a lightweight ice axe. There's often a permanent snowfield on the upper mountain where folks have gotten hurt without traction.
-
Radios: Radios are becoming more and more common in the climbing world, as they dramatically improve communication and safety during windy belays.
-
GPS/Navigation: You’ll want a GPS and a pre-loaded track for this tour, as navigation can get surprisingly tricky up in the high country.
A disclaimer on this description and included GPX track - this line was climbed over several days with certain weather conditions. The track described is a reasonable way to move through this terrain, and the description below mentions some of the hazards found during the trip. However, conditions may be significantly different when you visit this area. The advice in this trip report is not meant to be followed perfectly - you will need to adapt the route for the conditions you find and for your party’s abilities.
The Trip
Begin at the West Rosebud Trailhead and climb up past the dam to Mystic Lake. Ramble along the lakeside for a few miles before finding a faint use-trail up to Princess Lake. The trail will become increasingly faint, then disappear. Make your way past the beautiful Snowball Lakes before reaching Avalanche Lake. There's lots of camping between Princess Lake and Avalanche Lake, find something that you like!
From the northern edge of Avalanche Lake, you'll be traveling on rock and talus until you reach the summit. Make your way along the eastern shore, then climb up two thousand steep feet past the Granite Glacier to the small pass between Tempest Mountain and Granite Peak. From here, make your way west onto the East Ridge, following the path of least resistance through the rock.
There are at least four steep pitches of rock to find your way through, make sure you've done your homework and downloaded the beta for the technical portion of the route, this section can get confusing. There can also be sections of snow up in this area, don't take them lightly - this is where folks have gotten badly injured in the past.
Enjoy the last few pitches of low-fifth rock climbing before reaching the summit. Take photos and celebrate quickly before beginning the descent - it's a long way back down to your campsite and this area gets big thunderstorms in the afternoons!
Reverse your ascent, downclimbing talus forever before reaching Avalanche Lake. From here it's a long stroll back to the car!


Comments
Sign In and share them.