You are here
Of all the hikes in Rocky Mountain National Park, this one, in particular, is certainly at the top of my list. With all the beauty this hike contains it is worth doing in every season including the winter. Although the cold weather and snow may be a deterrent for some, going in the winter allows seeing a part of the park that rarely any people see. Hiking in the winter gives you the chance to miss the crowds, enjoy snow-covered trails and mountains, as well as magnificent sunrises and sunsets. With that being said if you do decide to hike in the winter make sure they have a good set of gear so that you stay warm and dry while hiking. In the colder months, hypothermia can be a major problem for those who do not wear the proper attire, but as long as you use your head and do what you can to stay warm then you will have no problem while hiking.
While hiking the trail is certainly very easy, finding a parking spot at the Glacier Gorge lot is not so easy. Due to the popularity of the hike, the lot often is full no matter the season by 10:00 a.m, if it is a good day to hike. So one of the best ways to beat the crowd is to make sure and get to the trailhead early, while this does not sound appealing to many catching the sunrise on the trail or near the top is one of the greatest ways to start your day. So once you decide to start on the trail you will notice that the first half of the trail is very simple and does not include that much elevation gain which will come at the end.
After a little under a mile one, the trail you will pass the frozen Alberta Falls on your left side is a wonderful sight to see in the summer while they are flowing. Then at a mile and a half, you will come to a junction mills lake junction, where you will continue to stay right on to the Loch. A little over 2.5 miles into the trail you will finally reach The Loch, and depending on the conditions it will most likely be extremely windy with gusts reaching about 30 mph. Despite the wind, The Loch is beautiful and I recommend taking a moment to snap a couple of photos before carrying on. Once you are done taking some photos now is a great time to grab some water and refuel with a snack, so that you are ready for the last couple miles of the hike. Although you will hit some incline near the end of the hike it is still manageable as long as you take your time and go at a comfortable pace for yourself.
About a mile after leaving The Loch you will begin to start the uphill climb taking you to timberline falls and then to The Lake of the Glass. Once you arrive at Timberline Falls there are some perfect places to capture photos of the falls and surrounding mountains. After you catch your breath you are ready for the final ascent up the mountain to The Lake of the Glass. During the ascent, you need to make sure to take your time so that you do not take the chance of slipping and falling back down. In the first portion of the climb, there is a spot that has some runoff and is most likely going to be frozen over. So, when going on the ice be sure to watch your step and pick the best route to get up safely, I recommend using the rocks on your right to pull yourself up to avoid most of the icy portion.
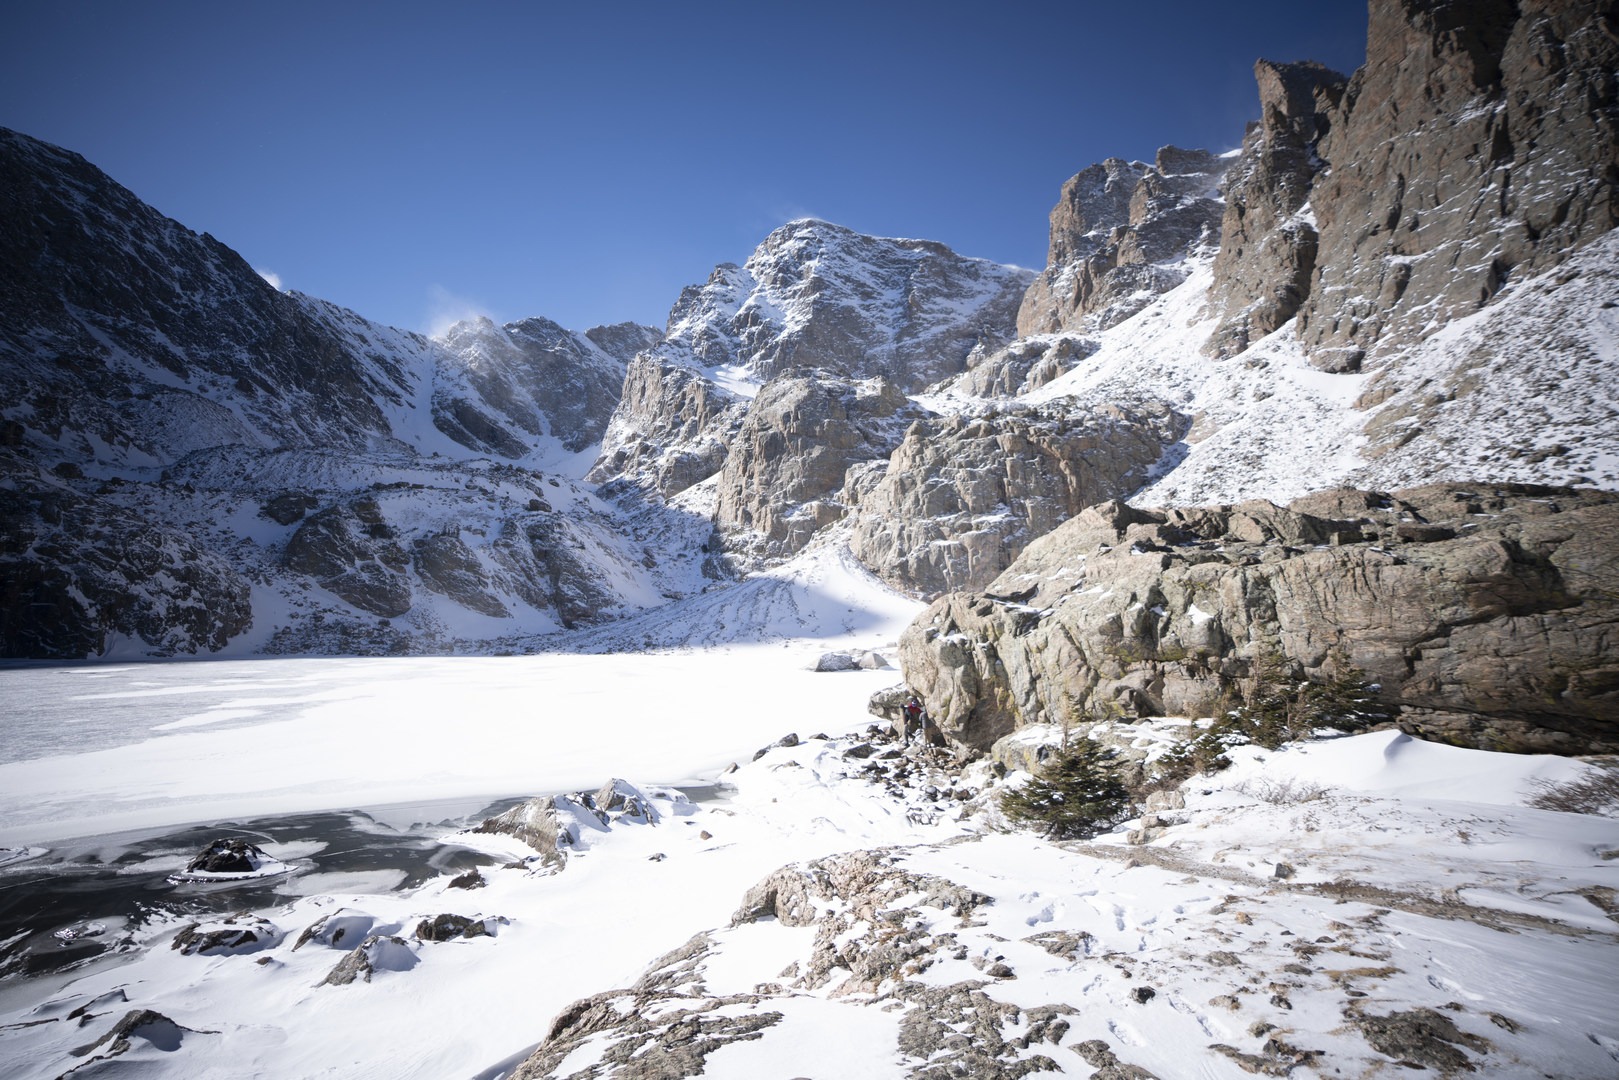
Then finally after a little under a half a mile of the uphill battle, you will arrive at The Lake of the Glass. This is one of the most pristine lakes offering amazing views of the frozen alpine lake and towering mountains above. Even though you have not completed the hike this portion is one of the most rewarding and is the perfect time to celebrate and take in all of the magnificent views. Now is the perfect time to get your camera out and make sure that you snap enough pictures to show how beautiful this place is. After grabbing some pictures of the scenery and taking a quick break you only have about .2 miles left of your journey.
For the final portion of the hike, there is most likely not going to be a very well-defined trail so you have the option to try and follow it to the best of your ability or to walk along the side of the frozen lake. Both options will get you there, but if you decide to walk along the frozen lake then you need to be sure that the ice is thick enough so that you do not fall in. Finally, when you arrive at the banks of Sky Pond you will be in awe of the pure beauty of the place. The magnificent frozen lake and the jagged towering mountains are the perfect spot to spend the day and will surely leave you grinning the rest of the way down. When you are finished capturing the pristine beauty of this place be sure to watch your step and take your time getting down as there are many places where you can slip and fall down the mountain.
Logistics + Planning
Current Weather: Powered by Dark Sky


Comments
Sign In and share them.