Peak Design Capture Camera Clip V2 specs
- Attaches to most belts or straps
- Withstands 200 pounds of force
- Use as a tripod clamp
- Safety lock and plate pock
- Corrosion resistant and weatherproof
- Dimensions: Clip: 4.1 x 2.1 x 1.1 inches; Plate: 1.5 inches wide when installed onto the clip
- Weight: Clip: 3.9 oz; Plate: 1.1 oz
Where to get it
- Price: $49.99 (clip only) - $69.99 (whole system)
- Peak Design (Only sells the third version)
- Adorama
- REI (Only sells the third version)
The Bottom Line: An excellent way to carry your camera in a ready-to-go state so that you don't miss a shot while you are on the move.

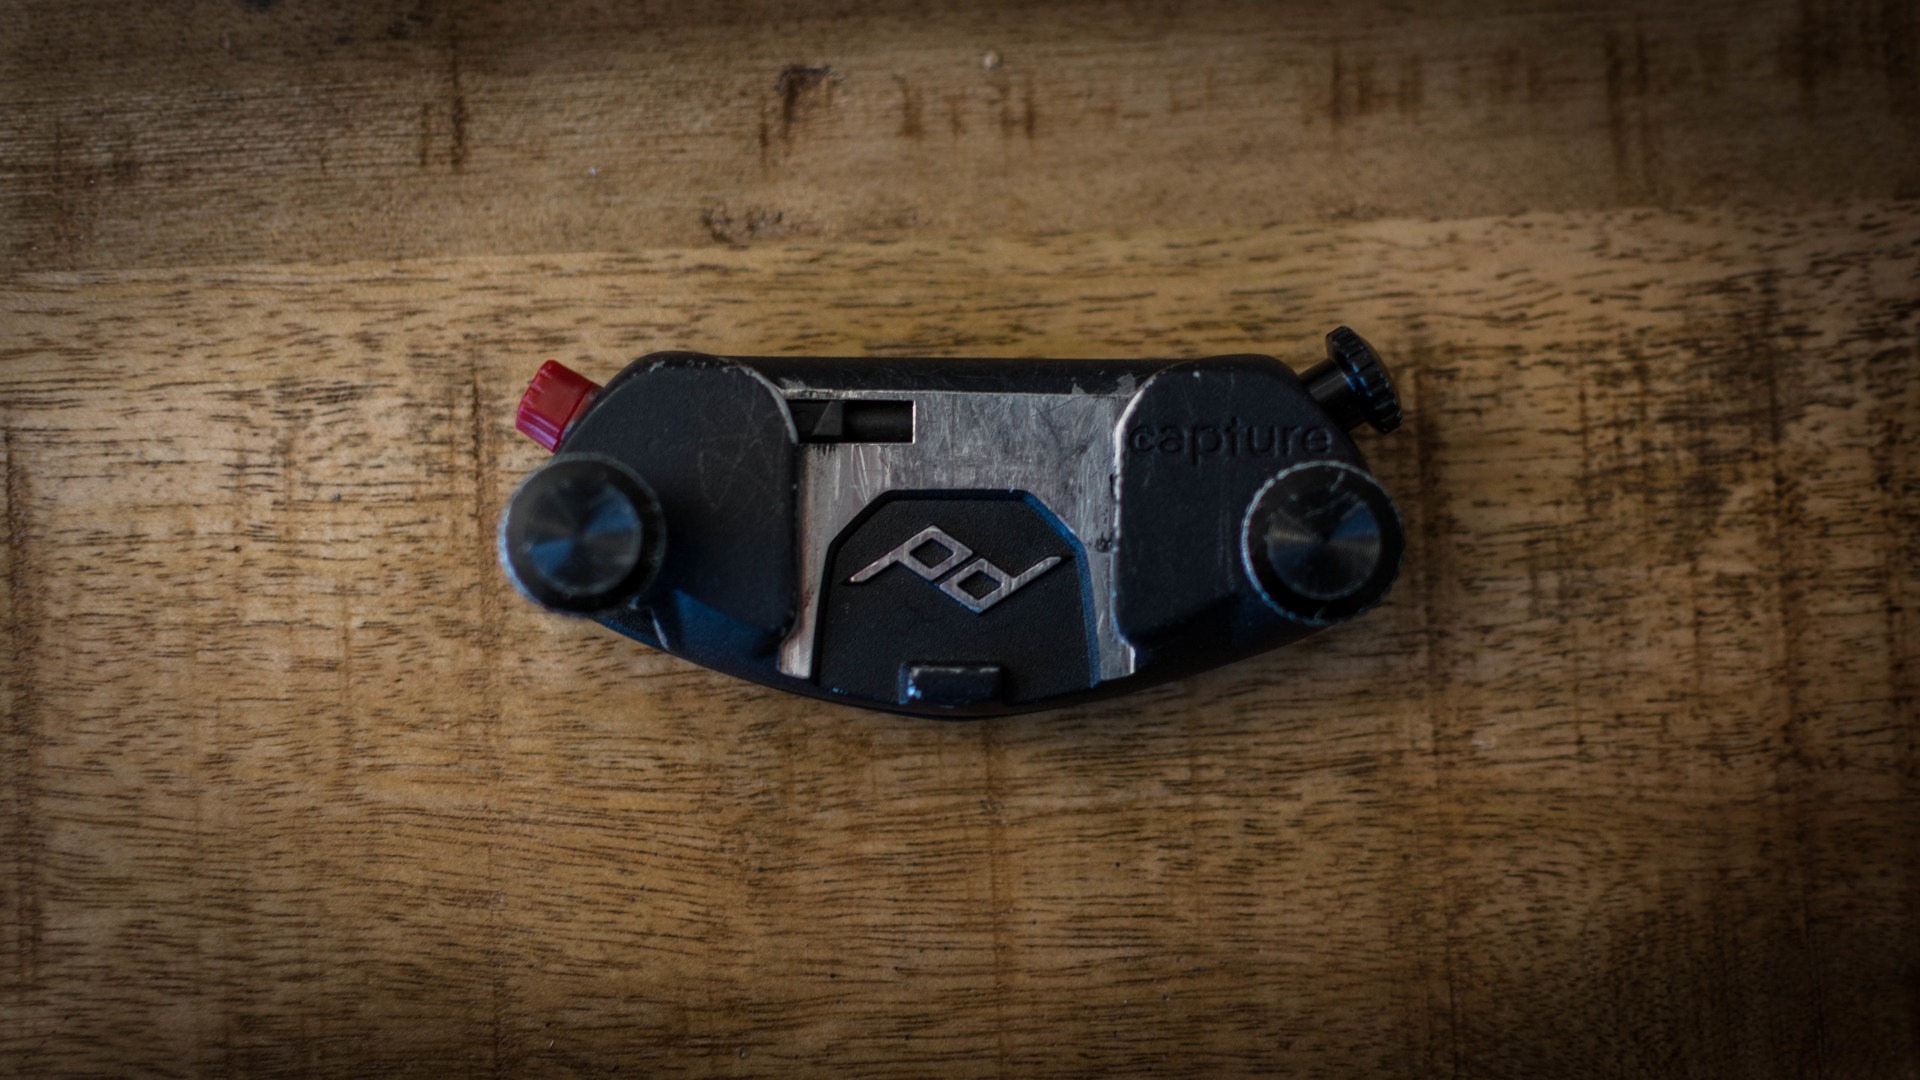
Peak Design Capture Camera Clip. Photo by Jason Leach.
When I first got into photography, I was always searching for a better way to carry my camera. Most of the time I would "bring" it on a trip, but it never left my bag. Usually this was because: 1) The shot I saw was already gone by the time I pulled the camera out, and 2) It was a hassle to get to. I would always put it in the top part of my pack (not the lid), and through the natural movement of hiking it would invariably settle in somewhere further down with the rest of my stuff. The larger the pack, the more annoying it was to dig the camera out, which often led to reason #1 that I always left my camera in the bag.
I have talked and seen folks using the camera strap around their neck for hiking. Usually this means that one hand is dedicated to preventing the camera from bouncing or bashing into things. If you happened upon a technical section, you run the risk of seriously damaging your equipment or needing to stuff it back in the pack. I tried the neck strap once and spent most of the trip worried about my camera. After a successful Kickstarter campaign, Peak Design launched their first version of their Capture Clip, a rigid way to attach your camera to your pack or belt. They were alread on their second version by the time I became aware of this solution to my camera carrying woes, and this meant that the clip was lighter and smaller. I ordered one after reading a few reviews, and it has made its way on every trip I have taken since 2016. In over two years of use, I have discovered some benefits and some limitations of the Capture Clip.
Note: It looks as if the third version solves most of the limitations of second version. If you want to save a few bucks, you cannot go wrong with the second version, but if you are willing to spend a bit more, the third version might be a better bet. I plan to order the third version in the next few months to test out and will add comments to this about to confirm if it solves the issues I note below.
The first thing I noticed when I got my clip was the weight; it was heavy, and while I know lightweight things can be really strong, this was very convincing for something that was going to carry an expensive camera setup. Despite it being made of aluminum, it felt like it was made of steel and would withstand a ton of abuse (and it has, note the scratches in the photos). The plate that attaches to the bottom of the camera had a similar feel. The second thing I noticed was that the bolt on the bottom of the plate was designed for both a hex key (provided) or a coin/knife to tighten it. It is a simple yet elegant solution for the adventuring photographer who might forget the hex key at home. I have found all manner of items to tighten the plate bolt down with over the years; I used a wine opener just to take the plate off for the photos (who has time to find a hex key, anyway?). The plate then slides into the clip.
There is a tension bolt that you will need to adjust until you find a comfortable setting between "easy to release" and "rigidly attached to me so my gear doesn't fall to the ground and break." I have tweaked this over the years and tend to default to "harder to release" but "not going anywhere!" setting. I have noticed that there is a rigid tolerance to aligning the plate properly into the clip. This is easy to achieve with just the plate, but adding a camera can create a challenge. There have been times that I thought my camera was attached only to see it start to fall to the ground due to user error. There is an audible click when it is attached, but over the years this seems to have become less noticeable, so take your time and give the camera a little wiggle after attaching it before letting it go. There are some horror stories floating online regarding attachment failures with these clips; my "failures" have always been user error, but it can't hurt to be careful.
Once you have the plate on the camera and you have adjusted your plate tension, you will need to remove the camera and plate from the clip in order to attach the clip to your backpack or belt. You are more than welcome to attach the clip first once you have it set up to your liking, but for the first time, I recommend setting it up off of the item you intend to attach it to just to prevent any accidents. There are two knobs that drive the attachment bolts. One side of the clip backplate has a hole that allows you to swing the clip on to the bolt and then tighten them both around your backpack strap or belt. The bolts fit around most straps without an issue. I have some backpacks with thick straps that I have to compress in order to get the clip on, however. Peak Design sells slightly longer bolts and now includes them with the third version of the clip out of the box, which helps solve this issue.
After tightening everything down, you are ready to roll! Total setup time is minimal, and the camera plate doubles as a tripod plate, so you don't have to switch it out if you happen to need your tripod (just make sure you buy the clip with the correct plate to fit your tripod head). The clip holds the camera securely and relatively comfortably in a "ready to go" position. When it comes time to use it, simply push in the red button (unlock it first if you locked it) and pop the camera out. I prefer to carry my camera around shoulder height. This has a few advantages and disadvantages to carrying it around your waist:
Advantages
- You keep the camera high and out of the way. This is great for technical climbing and general mobility. Around your waist you run a higher risk of bumping into things.
- It allows you to leave the lens cap off. Being higher up I worry less about things getting in the way of the camera. I point my lens toward the ground and usually have the lens hood on to help protect it. Keeping the cap off and the camera on allows for an instant transition from carrying to shooting. I would be more concerned about doing this if I carried it around my waist.
- For me it is easier to make sure I am putting the camera back in the clip at my shoulder.
- It does not bounce around as much as it does on my waist.
Disadvantages
- It wears on your shoulder. I frequently default to my left side since I a right handed, but occasionally I have to switch the clip to my right side due to shoulder fatigue. If you shoot mirrorless, this might be less of a problem, but I carry a DSLR and sometimes a heavy lens.
- Finding the "right" shoulder height depends on the person, and sometimes the chest strap on a backpack gets in the way of the "right" height.
- Shoulder pads are various widths, and you might be pushing the limits of the clip bolts to attach it (the third version solves this by including longer bolts).
- The width of the clip itself can cause it to dig into your chest a bit, adding to the discomfort, whereas you might not notice it as much around your waist. The third version is narrower and lighter, which might solve this problem.
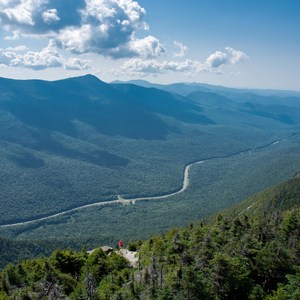
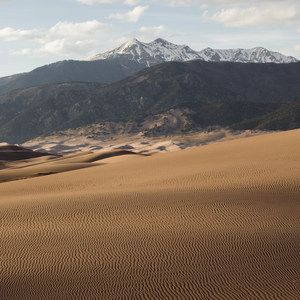
Overall it is entirely personal preference on how you carry your camera, but having now used the second version of the clip for almost three years, it is officially the most used piece of gear in my setup. I have rotated my cameras more than this clip. It has joined me on myriad of adventures, from hiking the Franconia Ridgeline to tromping around Sand Dunes National Park and everything in between. Next to my first-aid kit, if I am planning on taking my camera (which is 99% of the time), I am grabbing this clip. If you want something that will help you shoot more photos on trips, this is the accessory to buy!


Comments
Sign In and share them.