“On at the car, off at the bar,” is a simple mantra to remember when it comes to using your avalanche beacon, but the pre-tour beacon check often is done improperly and, in many cases, it is not done at all. Thankfully, most backcountry travelers know they should have a beacon, shovel and a probe before heading out. Unfortunately, just owning and carrying rescue equipment doesn’t mean you will be ready in the event there is a rescue scenario. Rescue and safety conversations can quickly fall into the buzzkill category. At the risk of sounding like the hall monitor telling you to stop running, having a solid understanding of avalanche rescue protocol and doing a regular check of your rescue equipment are important steps to being a backcountry skier.
Avalanche educators talk about “the human factor” and how our egos and interactions play a significant role in our decision making while traveling in the backcountry. Adding a pre-tour beacon check and rescue equipment check to your ritual is an easy way to assess the functionality of everyone’s rescue equipment prior to setting out. Taking the time to address safety needs takes helps guard against the negative effects of the “human factor” by setting the tone of positive group communication. With regular practice, your group will be able to buzz through this check process in as much time as it takes to put your skins on.
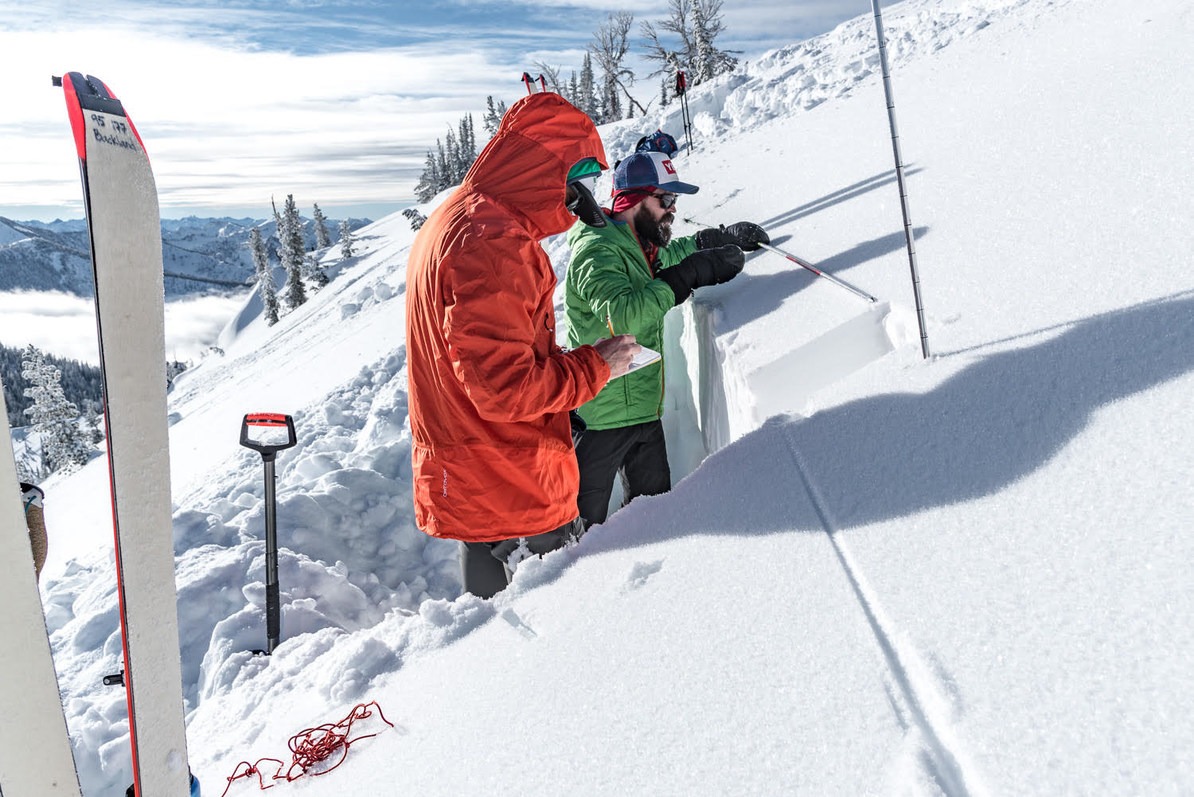
It should go without saying, but the best way to avoid a rescue scenario is by building the necessary knowledge to avoid avalanches all together. Take an avalanche course from a local professional and develop the necessary toolbox for safe backcountry travel. As far as rescue goes, mountaineering experience and rescue experience do not necessarily go together. Regardless of your mountain experience, you need to take time each year to practice your beacon and rescue skills. Even if you and your group are making good decisions to avoid a rescue scenario, you never know when you might be called on to help with a rescue. The best partners will have an understanding of equipment and be comfortable with the necessary rescue skills.
Even a novice backcountry traveler knows how important it is to carry a beacon, probe and a shovel, but not all pieces of equipment are created equal, and technology is always evolving. Each year it is a good idea to take a look at your current equipment while doing a little research, either at your local backcountry retailer or online, to see if it might be time to upgrade any pieces of your rescue kit. Regular checks of your equipment can also indicate if there has been any excessive wear or damage to your rescue gear; a quick check will save you the headache of finding out at the trailhead that your kids broke your probe by using it as a javelin in the backyard over the summer. It is also good practice to keep your rescue equipment as rescue equipment. Admittedly, an avalanche shovel is the perfect size for kids playing in the snow, and it is great to keep in your car in the event someone gets stuck, but we want our rescue equipment to stay in tiptop shape, so use retired shovels for everything else.
The Gear
When choosing a shovel and a probe, there are a number of options available and a few key parameters to keep in mind. Because we will be carrying this equipment with us, the first reaction for many people is to choose the lightest and smallest equipment possible. Unfortunately, lightweight materials and design don’t always stack up against rock hard avalanche debris. Focus on a lighter pair of boots or skis instead of skimping on a saving a few grams for a flimsy shovel or probe; your partners will thank you for carrying quality rescue equipment.
Probe:
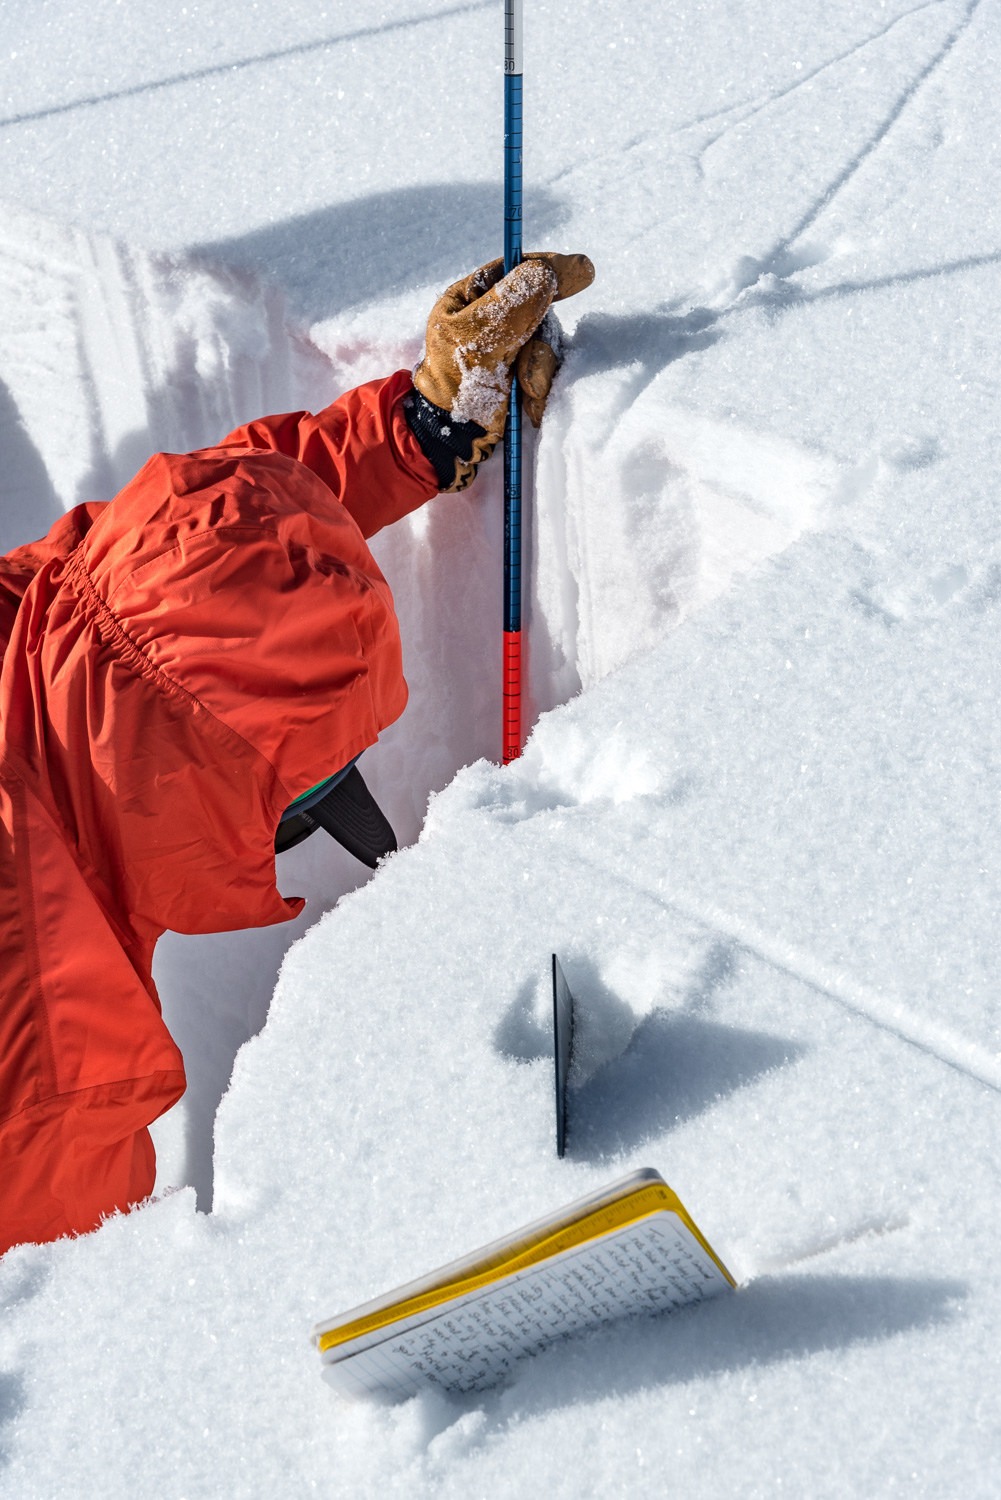
For a probe, you should carry one with a minimum of 220 centimeters of length. While a longer probe is not a bad thing, probes over 300 centimeters long are usually reserved for professional rescuers and special circumstances. Most reliable probes break down easily and are made from a lightweight aluminum. Really do your research if you are looking to buy an ultra-light, carbon probe. These probes are great if you are showing off your pack weight to your partner, but your partner will not be that impressed if your carbon probe has a greater likelihood of deflecting and breaking during a rescue.
Do your research to make sure the carbon probe comes from a trusted manufacturer and has been effectively tested for avalanche rescue. Understanding how your probe assembles is key, and having a probe that comes together quickly and locks into place solidly is critical. Also, it is important to find a probe that is easy to operate with gloves or mittens. Finally, having easy to read centimeter markings is very nice when checking snow depth and the distance of layers within the snowpack. Our recommended probe is the ORTOVOX 240 PFA, as pictured.
Shovel

As for the shovel, you want to avoid plastic or carbon-built shovels. They are lightweight, but they do not stand up to avalanche debris. If you have one of these, stick it in the back seat of your truck or let your kids build a kicker with it. A rigid, aluminum shovel with a minimal number of welds is important. Choose a shovel with a good-sized blade and one that can be easily and quickly assembled. Additional features include extending handles and options for a “hoe” mode, which can greatly improve efficiency while digging. As with assembling the probe, it is a good idea to make sure to test the functionality while wearing gloves or mittens. Our recommended shovel is the ORTOVOX Kodiak, as pictured.
Beacon (transceiver):
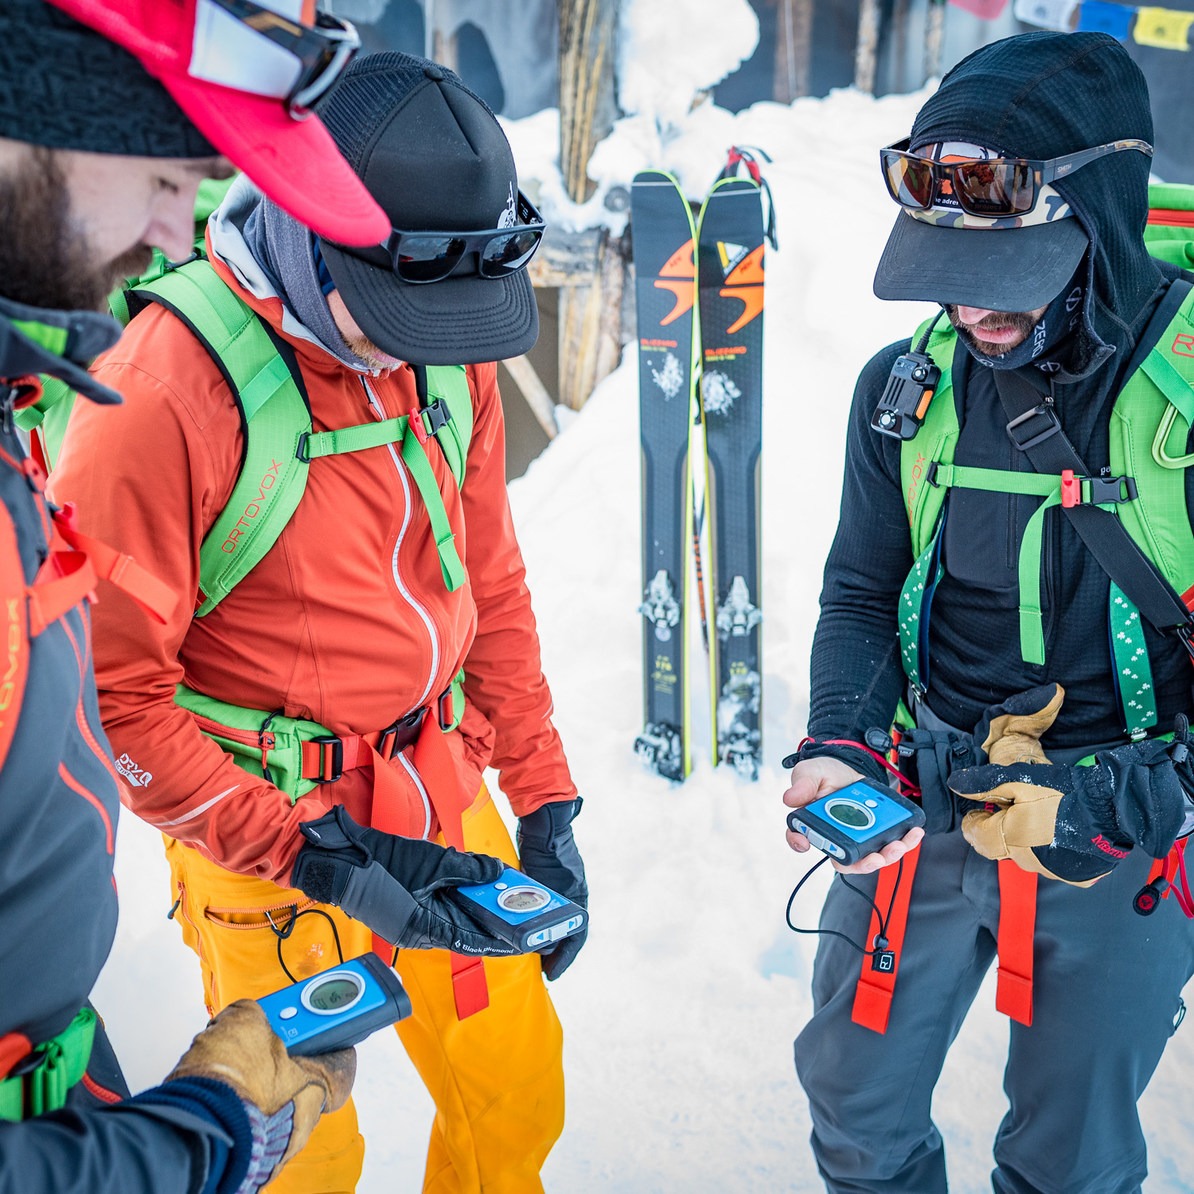
Of the essential rescue equipment one should carry, choosing a beacon/transceiver can seem like the most complex of the three. The technology and functionality of the beacons on the market can all be a little different and sometimes confusing, but the ultimate goal of all beacons is to transmit a signal and detect a signal in the event an individual is buried. In addition to understanding the different beacon technologies, purchasing a new beacon is usually one of the larger ticket items a backcountry user will make, and many people try to skimp and save money on a beacon. The bottom line is to spend the money necessary for a quality beacon; a beacon is designed to improve the chances of saving your life or the life of the individual you are searching for. If you are not willing to spend money on a quality beacon, then you should choose a different activity.
The second consideration is the age of your current beacon and/or the age of a beacon you are about to purchase. Analog 2.275 kHz single antenna avalanche transceivers have been sold since the early 70s, and while we are thankful for this technology, if you have an analog single antenna beacon, it should be donated to your local backcountry museum.
There is a ton of information on the different technologies and functionality of beacons that are currently on the market. Do your own research on what works best for you and your budget. At the bare minimum you should have a digital beacon with a minimum of two antennas, and it is preferred to have three antennas operating on frequency 457 kHz. With these basic features, beacons will provide sound indicators matches, a distance read-out while searching, and battery life indication.
There are many excellent resources available, but www.beaconreviews.com provides comprehensive reviews that include a detailed look at the different beacons and beacon technology available. Take the purchase of your beacon seriously, and if your beacon is five years old or more, it is time to consider purchasing a new one. Once you purchase a new beacon, take the time to learn how it works by practicing with it. Our recommended beacon is the ORTOVOX 3+ Transceiver, as pictured.
The pre-tour equipment check
Now that we understand the necessary equipment, let’s review a proper safety equipment check at home before we head out. Once done a few times, this quick yet efficient check will ensure everyone has the properly functioning equipment prior to heading into the mountains.
- While organizing your pack at home, check that you have a probe and shovel. It is also helpful to double check that they each assemble correctly and that they are functioning correctly prior to stowing them in your pack.
- Before heading out, double check battery strength and beacon functionality. This takes just a few seconds to turn the unit on, make sure the battery strength is higher than 75% and that all the functionality is working properly. Depending on where your ski destination is, this can save you the huge hassle of having to track down replacement batteries or even a replacement beacon.
- While a beacon, shovel and probe are the minimum rescue equipment, take this time to also double check any additional first-aid and rescue essentials you might need.
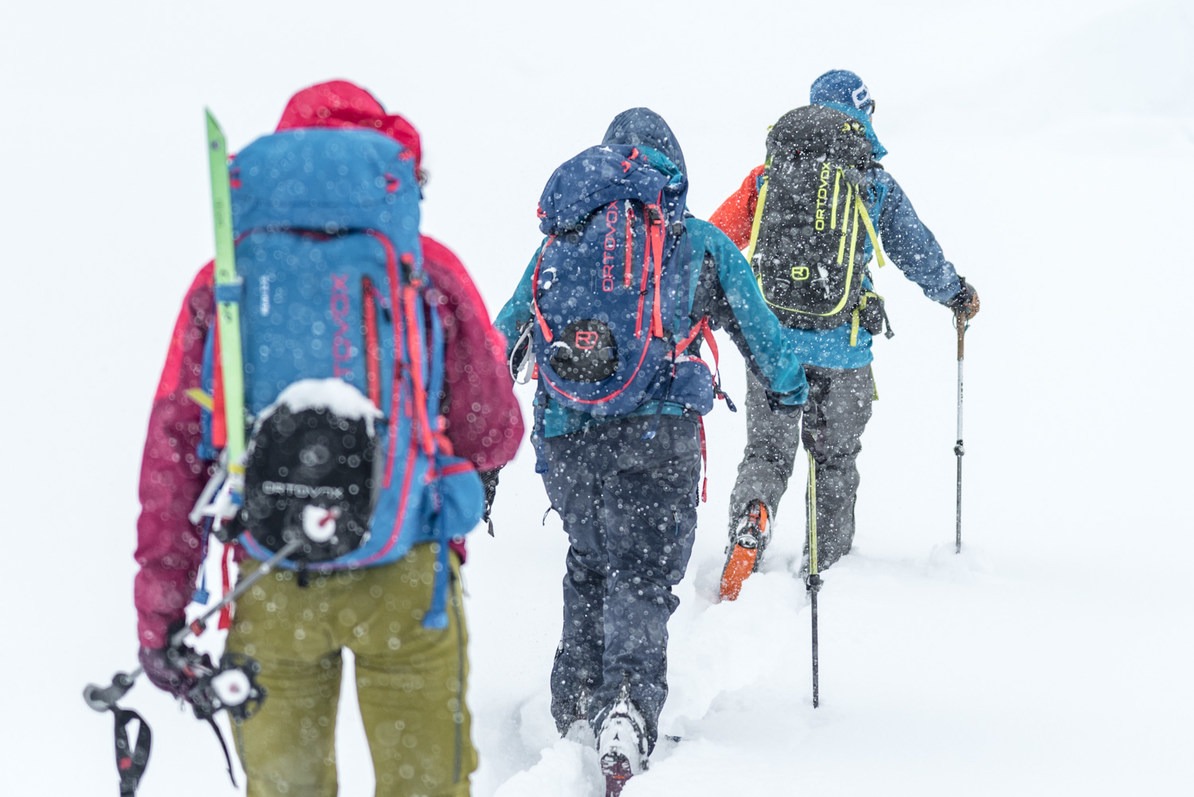
Developing a pre-tour ritual in the parking lot is a great way to establish good communication and make sure everyone is ready to go with necessary and functioning equipment. Here is a basic outline to help you and your group establish a routine that you can complete every time you're at the trailhead.
- Review a morning meeting/skier’s checklist including an overview of avalanche hazard, weather forecast, etc.
- Discuss the route and who has been notified of your day’s plan and where you are touring
- Review partners and understand their rescue skills - does anyone have first-aid training, medical training, additional rescue equipment? Is mobile coverage available? Is there Spot or satellite rescue response equipment on the trip?
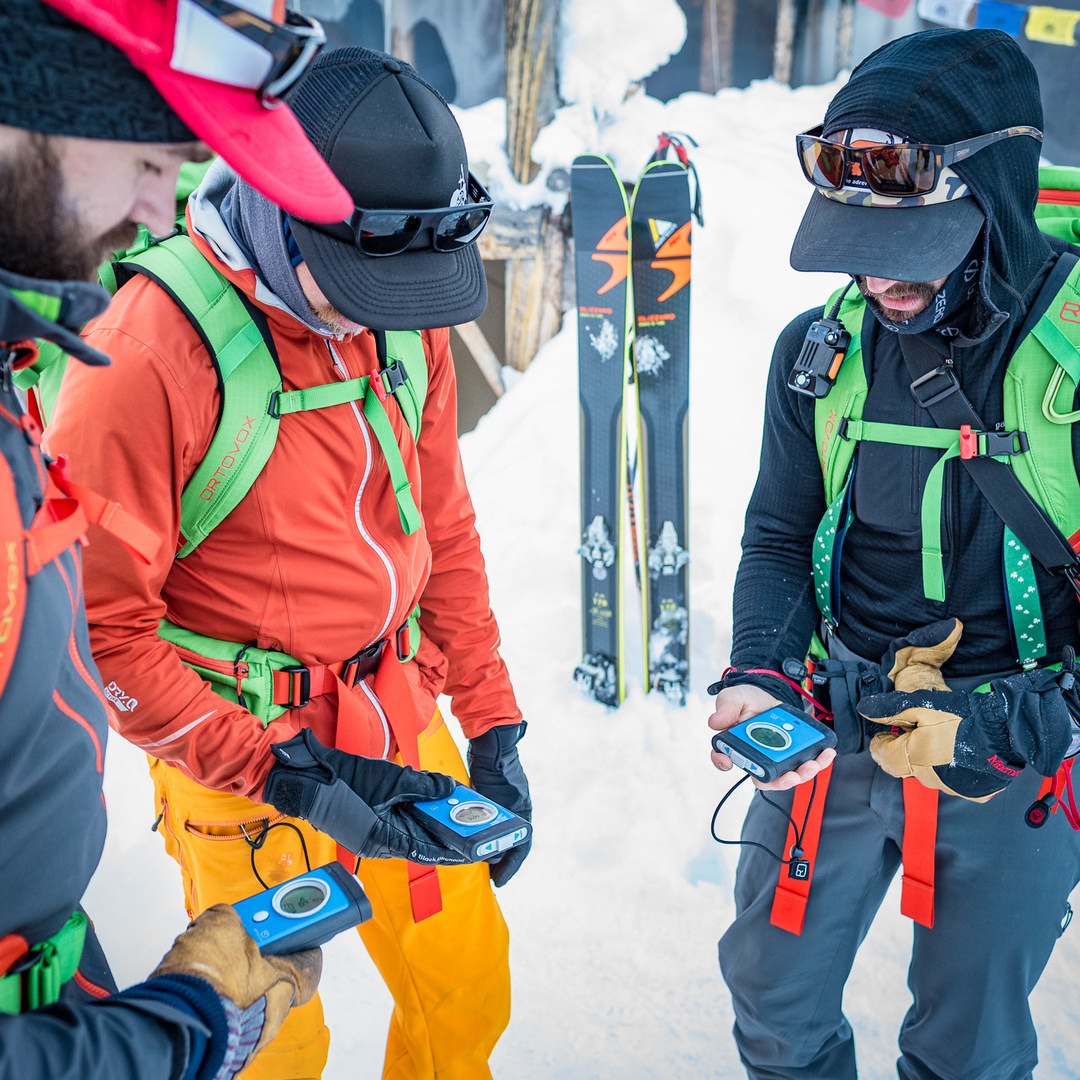
- Beacon check: This should be a repeatable way to check the battery strength, transmitting function, and search function on each individuals beacon. Here are the steps for a fast and efficient way to check everyone’s beacon.
- Everyone turns their beacon on and checks that each individual has a battery strength of 75% or greater. Carrying extra batteries always saves the occasional hassle, and if you are headed for a multi-day trip where extended battery life might be an issue, starting with a fresh battery and carrying extra batteries in your pack is a good idea.
- Once battery life has been checked, everyone turns their receiver to the search function (wait for silence and make sure you are not picking up the signal from a neighboring party’s beacon).
- Once everyone’s beacon is on search mode and it has gone silent, one member of the group will switch their beacon to transmit. All of the partners remaining in search mode will confirm that they are picking up the single beacon transmitting. The group member transmitting should go through and ask that each member of the party is picking up the signal. Once confirmed, the member on transmit places their beacon back to search mode and the process is repeated by each member turning their beacon to transmit and confirming everyone is picking up their signal.
- Once everyone has checked that their beacon sends and picks up signal, everyone should make sure that each beacon is placed back into transmit mode and check body placement of beacon, making sure the beacon is secured in a pocket or in the harness against body. To minimize electronic interference, your beacon should be at a minimum of 8 inches from other electronic devices. Electronic devices should be turned off and stored in a backpack when possible. Use airplane mode or turn cell phones off when possible. Also, make sure that there is no metal covering your beacon because this can interfere with transmitting a signal.
Once practiced this is a very efficient way to check to make sure everyone’s beacons are functioning properly in both transmit and search modes. It also ensures that everyone knows how to turn their beacons to the different modes. Establishing a check protocol doesn’t have to be laborious or kill the energy of getting into the mountains. Checking your rescue equipment regularly will ensure everyone is on the same page, and it will only add to the backcountry experience.
We hope this helps you and your partners have a great tour!
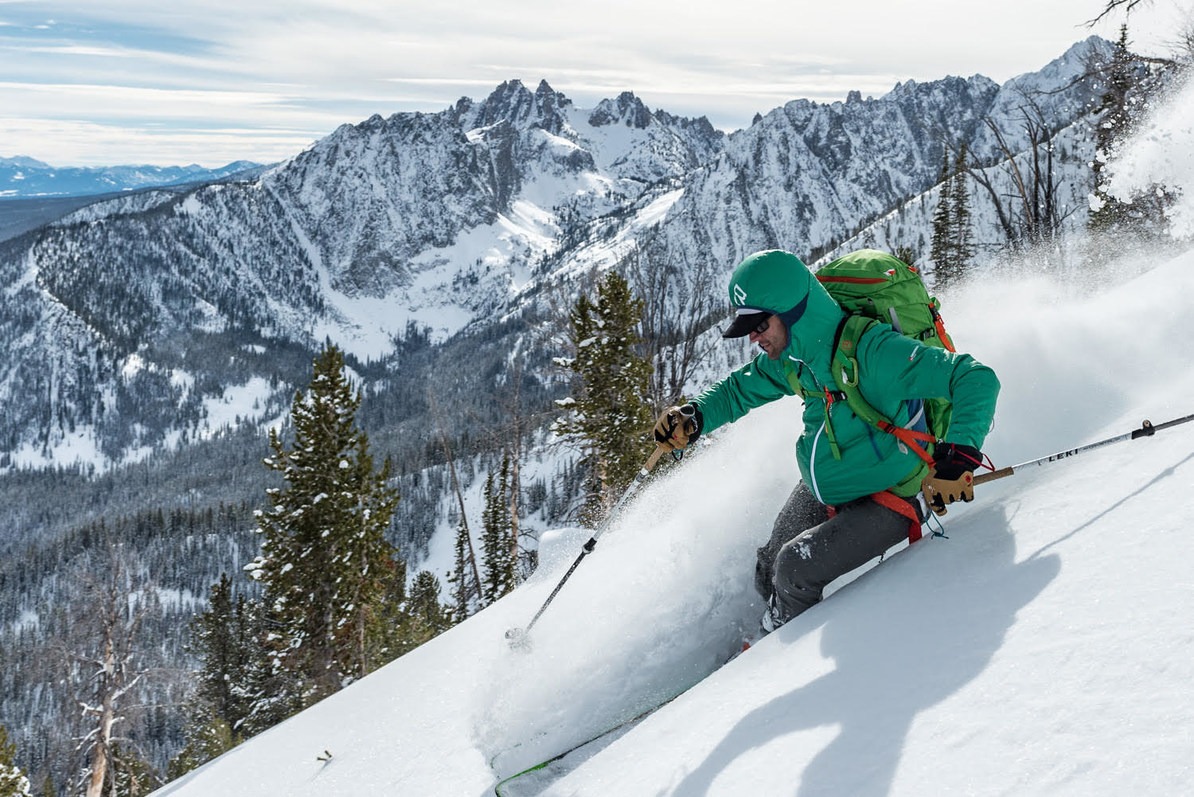
Michael Tobin is the photographer (@mj7tobin); Adam Wirth is the author (@adamewirth). Their group site is @alpine_untracked. Learn more by checking out their website.
Since the company was founded in 1980 in the south of Munich, ORTOVOX has stood for the highest possible protection during alpine activities. As pioneers in the avalanche safety field, we have played a key role in the development of emergency equipment for the mountains. Innovations such as the double-frequency avalanche transceiver and Smart Antenna Technology, and also targeted training measures, continue to be valuable contributions to making mountain sports a little bit safer and to saving lives.




Comments
Sign In and share them.