You are here
My family of four needs a new hobby like we need a case of head lice. That is, we don’t. We live for outdoor sports and have all the gear to cover every season three times over. Yet here we are, buying more equipment, reading new books, planning more trips, and starting to rock climb.
Last year on a cold and rainy weekend we found a local bouldering gym to spend an afternoon. Our 11-year-old son instantly caught the bug and joined their rec team. Seeing where things were headed, we signed up for a family membership. Over the year the gym became a special place for our kids to explore their physical and mental strength. Our 8-year-old daughter confidently pursues beginner routes 16 feet in the air, while our son commits to days of practice on difficult boulder problems.
My husband and I are novice climbers with those few obligatory rec center sessions that one gains in college…over 20 years ago. Any interest we had in the sport was quieted by the barriers we saw in terms of exotic gear, technical know-how, and possible death. Nevertheless, the kids’ commitment to climbing kept growing, forcing my husband and I out of our comfort zone and into learning everything we can about rock climbing. Going from non-climbers to a family with young kids safely climbing outdoors was a daunting process. If you’re interested in climbing with your kids, here’s what I’ve learned so far.
Step 1: Start Small and Go Slow
Do you remember the time you signed your toddler up for a Saturday morning parent and child music class? And you woke up at 7:00 a.m. to get your kid dressed, fed and across town by 8:30? And do you remember how your kid suddenly became deathly afraid of maracas? I remember that too. Let’s not do that again.
Nothing ends a family outing faster than an overwhelmed or frustrated kid. You may buy hundreds of dollars of gear, spend weeks planning, and drive half the day to your destination only for your kid to go 6 feet up the wall and suddenly become afraid of heights. Take time upfront to overcome potential barriers and keep the positive mojo alive.
First: Learn to Boulder
A bouldering gym is an exciting first climbing experience without the burden of ropes and commands. Bouldering gym walls are lower than traditional rock climbing gym walls, and rather than a rope catching your fall, you free fall onto a crash pad. The gym gives you and your kids a place to learn movement, technique, and how other climbers master the same route in a controlled environment.
TIP: Make climbing a game. On quiet days at the gym, play games like Hot Lava, Simon Says and Traverse Challenge.
I appreciate that, in addition to learning how to climb, my kids are learning how to safely fall. My fear of falling is an emotional barrier I continue to struggle with, and which hinders my growth as a climber. And unlike the maracas in music class, I’m thankful to have learned this beforehand rather than when I’m 50 feet up a wall.
Once everyone has gained some level of comfort and strength in the gym, add in an occasional outside bouldering trip. This lets everyone learn how the rock feels, how shins get scraped, about hiking in, finding the route, setting up, and new safety considerations. When bouldering outside, use a portable crash pad to absorb falls, and always have at least one spotter ready, with hands up, to help the climber fall on the pad. Most climbing books include information and diagrams of local bouldering spots.
TIP: Start on the easiest outside routes, even if your family is climbing a higher level of difficulty at the gym. Spending time on real rock is a humbling experience.
Then: Learn the Ropes
Adults must learn how to properly belay, and kids must learn how to properly communicate, climb and rappel. These are show stoppers. We visited a local climbing gym to earn our belay certificates and practice climbing at greater heights. Ask the belay instructor if your kids can be climbers in the belay course. This helps your kids learn commands and the importance of safety from a professional.
After the lesson we continued to practice at the gym to improve our belay technique and the kids’ comfort levels. The attention that went into our belay lesson left me and my husband confident enough to move forward, outside, and on our own.
TIP: Have climbers practice falling so that both the person climbing and the person belaying can become acquainted with the feeling. Trusting each other, and the equipment, is critical before heading outside.
Finally: Let’s Top Rope
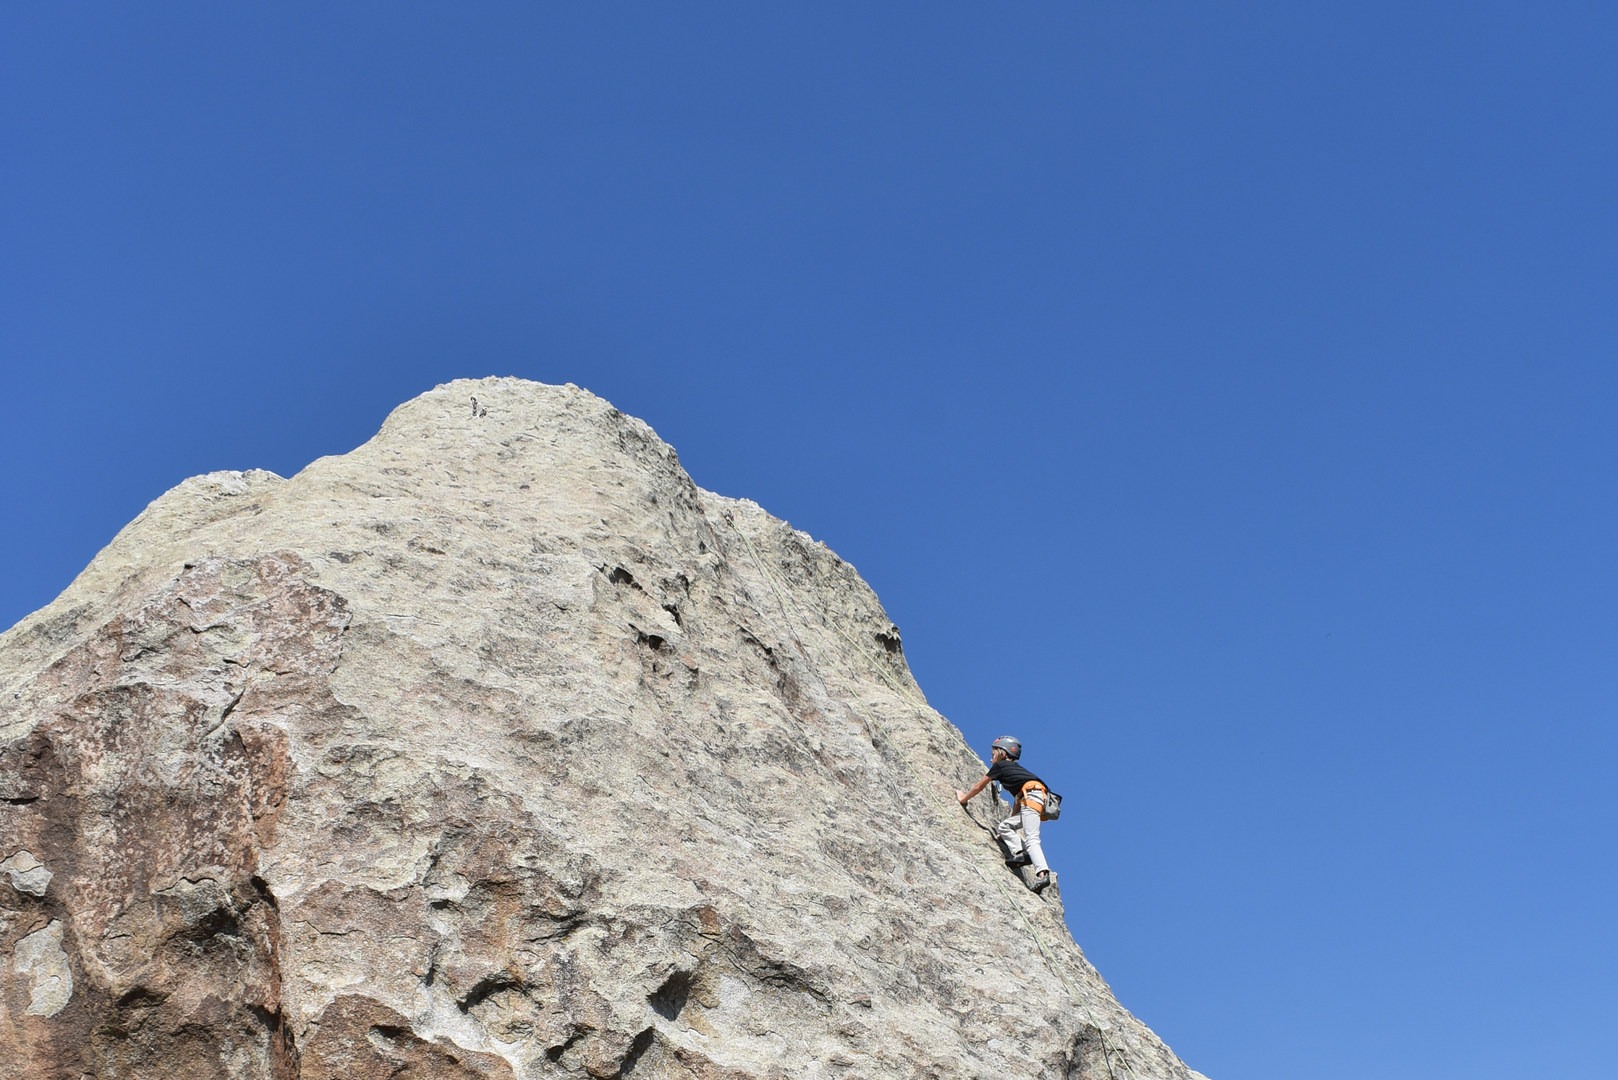
Top roping is the usual entry for beginning outdoor climbers. A rope is anchored to the top of the rock using pre-bolted chains, which is similar to a climbing gym. This leap is easier said than done, and it will take some work on your part. Attend a beginning climbing workshop at your local outdoor shop, connect with a mentor, and learn about top rope safety.
Create a safety check routine between an adult on the ground and the person setting the top rope. In our family, once my husband sets the rope we go through a verbal check, and I shout a shorthand checklist: “through both chains, opposite and opposing, locked, rope through both,” etc. After we complete the setup and safety check, our 11-year-old is usually the first to climb each route. When he’s at the top, we go through the same verbal safety check, giving him exposure to safety norms and a role in safe practices.
TIP: Teach kids how to tie their own figure-eight knot and perform a safety check.
Local guidebooks will give you information about where you can top rope. A set chain set will typically be noted with a “XX” on the rock route photo. The book should also include directions of how to hike to the top, if possible. Some top rope sections require a lead climb to set the top rope, which translates to more equipment and a new set of skills. Talk to local climbing clubs, park rangers, land managers, and mentors to have as much information as possible about individual routes and safety considerations.
City of Rocks National Reserve in Idaho offers a spectacular Climbing Experience program. For a small fee, a park ranger will take adults and kids over 10 out to gain top roping experience. This is not a lesson; while limited instruction is offered, the outing primarily provides a controlled first experience with a knowledgeable climber. If southeast Idaho is within your reach, the program is highly recommended. Check their website in advance to make reservations for summer weekends.
But, before you go outside, you’re going to need some stuff.
Step 2: Accumulate More Gear
The following equation will help you understand how much it will cost to start climbing with your kids, where F equals the number family members you’re buying for.
Gear cost * F = More than you thought
Here are some ideas to help keep costs non-astronomical.
- Outdoor resell shops: Check out your local outdoor resell shops and reap the benefit of lightly used gear, at a fraction of the price, on the backs of other well intended parents. We all bought our first climbing shoes from a local outdoor consignment shop.
- Borrow from friends: If you have a trustworthy friend who climbs, or (even better) a friend who climbs with kids, don’t be ashamed to ask to borrow some gear. If you have confidence in your friend’s safety sense, you know they are using gear with integrity that can still take a fall and keep you and your family safe.
- Invest in key safety pieces: I bought all safety-critical items new and from name-brand manufactures. To me, safety-critical items are those that keep us on the rock in case of a fall. This includes harnesses, webbing, locking carabineers and rope. As a beginner, I don’t know how to inspect a used rope or harness. I don’t know the right questions to ask the previous owner or how to calculate the falls on a rope. I can’t tell how many times a carabineer was dropped. With my kids on the rock, I want to create the best conditions for safety, and in this situation, it came with buying some new gear.
- Helmets: In my family, as with skiing and biking, climbing without a helmet is a no-go. I don’t know if someone is walking above and may kick off a rock or if my kid will swing out and hit the back of their head on the wall. And just like on skis and bikes, it’s best to get kids in the habit of wearing a helmet from the get go. Helmets are a relatively inexpensive add-on to protect the people in your care. Brains are fragile and awesome; helmets help keep them that way.
- Ropes: Most climbing items are straightforward to buy. Ropes are not. Finding the right rope is like finding a spouse; there are a lot of fish in the sea, there are a lot of variables, and your friends are all going to have opinions. Ask two climbers for a rope recommendation, and you’ll walk away with a list of the five best ropes. Overwhelmed by research and advice from friends, we bought a name-brand, UIAA-certified rope with the most common measurements recommended. A diameter of 10 millimeters is great for top roping, and a length of 60 meters will be adequate in most places a beginner would climb.
What we took on our first climb:
- Harnesses
- Climbing shoes
- Climbing rope
- Chalk bags
- Rope bag
- Auto locking belay device
- ATC belay device
- Locking carabineers
- Courdelette/sling
- Helmets
- First aid kit
- Guide book
- Water and snacks
TIP: If they’re big enough to climb, they’re big enough to carry their own gear. Kids can carry their own shoes, harness and water in and out.
Step 3: Keep it Fun
All the gear, logistics and safety concerns ratchet up the stress factor for the first climbing trip an 11. Save yourself some heartache and set expectations accordingly. Your kids may get tired hiking to the rock (solution: candy). The first climb may end with a banged-up knee and tears (solution: kisses, bandage, candy). Siblings will fight over who ate the most gummy worms (solution: more candy). If your kids get 10 minutes on the rock and smile when they get down, call the day a win. But I hope, for you all, they rappel down and can’t wait to get back up.
Climb on!


Comments
Sign In and share them.