Written by Jeff Hambelton and published in collaboration with MSR Gear.
Working in the backcountry during the winter for the Northwest Avalanche Center, I investigate the current snowpack, track the avalanche hazard, and perform all manner of experiments in the name of snow science. If you ask me what’s in my pack, you may get varied answers, depending on the mission. You might find overnight gear, maybe a science toolkit, sometimes a picnic lunch. But you will always find my shovel, probe and snow saw---the basic tools for snow science and companion rescue.
I’d like to share with you a few tips on how to use these three important and versatile components of your backcountry kit:
We carry the shovel and probe to complete the basic tool kit necessary for companion rescue when traveling in avalanche terrain---a tool kit that starts with careful risk assessment, trip planning and safe travel practices. The snow saw, while not technically a rescue tool is a ready component of an educated backcountry traveler’s arsenal for information gathering and important snowpack observations.
How to properly probe in a rescue:
In a companion rescue scenario, once you have pinpointed the strongest signal at the surface with your transceiver, deploy your avalanche probe, and start probing in a spiral pattern, a body’s width apart if in a group, holding the probe perpendicular to the surface of the slope, and pushing the probe down as far as it will go. Pay special attention to the angle of the probe, ensuring that each time you push it into the debris, it is parallel to the last push. This is the key; only if the rescuer probes in a parallel and precise manner can they confirm the victim is not "there." A rescuer maintaining this practice will avoid shifting to a random pattern of jabbing the probe in the snow while his heartrate soars and panic sets in.
Smart, efficient shoveling techniques:
The shovel is, by far, the largest and bulkiest tool in our b/c kit, but it is also your most powerful tool if you become involved in companion rescue. In a typical avalanche rescue, a buried victim might be 1 to 1 ½ meters under the surface of the debris. The mass of the snow that must be excavated can easily exceed 1 ton. A number of studies have been done over the past decade, each concluding that a strategic approach to shoveling can vastly improve the speed and efficiency of a rescuing group’s digging efforts.
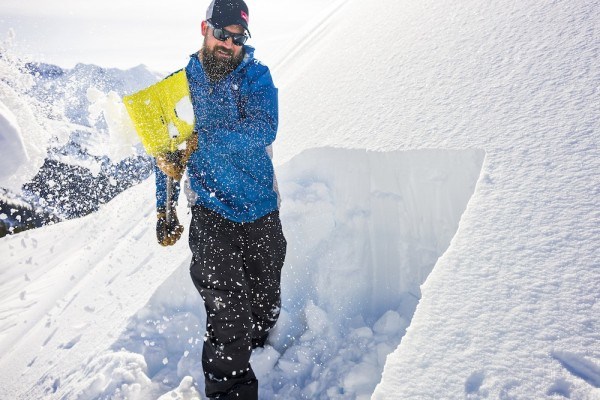
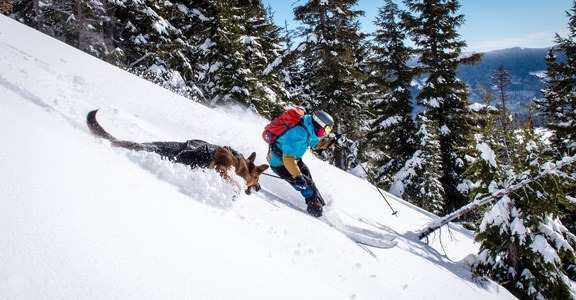
Photo by Scott Rinckenberger
In Bruce Edgerly’s article “The ABC’s (and D) of Digging; Avalanche Shoveling Distilled to the Basics,” the reader can find detailed explanations of techniques for various scenarios. While there are differences in technique according to resources and scene, Edgerly says, “We distilled these prevailing techniques into four key concepts ... preserving the airway (A), using burial (B) depth to define the excavation area, clearing (C) snow to the sides first; and digging (D) snow only once.”
Edgerly continues explaining that once a probe strike has been confirmed, use the depth of burial to define a starting point. A good rule of thumb is 1.5x the depth, in a downhill direction; usually 1-2 meters away from the probe. It’s usually best to start the excavation working on your knees, avoiding bending over more than 90° at the waist. Two diggers working side by side is the most efficient use of labor, and helps to dig the right size hole. In practice, I find it fastest to chop a row of blocks in the snow in front of me, and then heave them out of the hole to the side. Dig steady, but fast, and try to breathe. Keep your gloves on.
Tools for snow science and information gathering:
A great deal of emphasis is placed on shovels and probes as rescue tools, but they graciously serve a multitude of other functions. As an example, the probe is extremely useful as a survey tool. It allows the backcountry traveler to feel the depth of identified layers in the snowpack, tracking the distribution of wind deposited snow, and helps work around the problem of spatial variability. Using the probe in this fashion gives the individual a very tactile experience; imagine identifying and tracking a crust layer across different elevations and aspects on your next tour. Most probes on the market today also include depth markers, allowing for accurate measurement of layers.
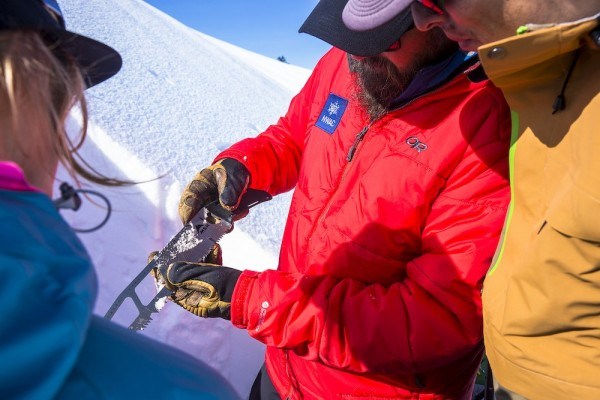
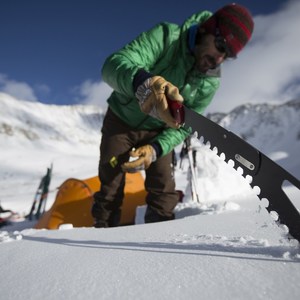
Photo by Scott Rinckenberger
Snowcraft is the term given to the practice of digging snow profiles, identifying layers and snow types, and testing layer interfaces. The combination of the shovel and snow saw allow for the construction of standardized and repeatable tests used by today’s snow scientist. As an example, by first creating an isolated column of snow with the saw, and then using the shovel to progressively load the column vertically, a snow scientist can observe the location of weak layers in the snowpack, and potentially determine something about the character of any observed failures. These skills are taught in avalanche courses, and can be incorporated into the educated backcountry traveler’s snowpack assessment routine.
Backcountry travel is a fantastic expression of self-reliance and personal exploration. Bringing the proper tools along allows me to more accurately observe the environment as I travel, helping me to understand the snowpack and reinforce prudent terrain selection.
In the great competition of which piece of gear in my pack is the best at multi-tasking, I believe the shovel wins and the saw is a close second. Whether I’m digging in, or digging out, I can’t do it without the shovel. All that digging is likely to make me hungry, and the shovel blade makes a great cutting board to lay out my picnic. The MSR saw on the other hand, has a bottle opener, and can do a fine job on a fresh baguette.
About the author, Jeff Hambelton:
Jeff's home terrain is in and around the Mt. Baker area. He has 7 years of avalanche control work experience at Mt. Baker Ski Area, and over 15 years of backcountry travel experience in the region. He is certified in avalanche observation and education through the AIARE and CAA organizations. Along with being a professional observer for The Northwest Avalanche Center, he currently serves as the Director of the Mountain Education Center at Mt. Baker, and has worked for over a dozen years in the avalanche education community. He prefers to travel in the backcountry with his splitboard, but will ski when necessary.
This piece was published in collaboration with MSR Gear.
At MSR, we are engineers, tinkerers and passionate outdoor users–each with strong perspectives on how a product should work based on our own experiences in the wild places we love. But collectively, we believe that innovative solutions are bred by challenging convention, and that functionality, simplicity and reliability are the governing elements of enduring design.


Comments
Sign In and share them.